|
以下是Ubuntu官方提供的从Ubuntu 17.04升级到最新的Ubuntu 17.10系统的方法。
To upgrade on a desktop system: Open the "Software & Updates" Setting in System Settings. Select the 3rd Tab called "Updates". Set the "Notify me of a new Ubuntu version" dropdown menu to "For any new version". Press Alt+F2 and type in "update-manager -c" (without the quotes) into the command box. Update Manager should open up and tell you: New distribution release '17.10' is available. If not you can also use "/usr/lib/ubuntu-release-upgrader/check-new-release-gtk" Click Upgrade and follow the on-screen instructions.
翻译,桌面版升级: 在系统设置中打开“软件与更新”。 选择“更新”选项卡。 设置下拉菜单“有新的 Ubuntu 版本时提醒我”为“任何新版本”。 按下 Alt+F2快捷键,并在命令行窗口输入 update-manager -c。 更新管理器将打开并提示你“新的发行版 17.10 已经可用”。如果不工作,你可以运行 /usr/lib/ubuntu-release-upgrader/check-new-release-gtk。 点击“升级”并按屏幕提示进行。
To upgrade on a server system: Install the update-manager-core package if it is not already installed. Make sure the Prompt line in /etc/update-manager/release-upgrades is set to normal. Launch the upgrade tool with the command sudo do-release-upgrade. Follow the on-screen instructions. Note that the server upgrade will use GNU screen and automatically re-attach in case of dropped connection problems.
翻译,服务器系统升级: 如果没有安装的话,请先安装 update-manager-core 软件包。 确保 /etc/update-manager/release-upgrades 中的 Prompt 设置为 normal。 在命令行运行 sudo do-release-upgrade 启动升级管理器。 按屏幕提示进行。
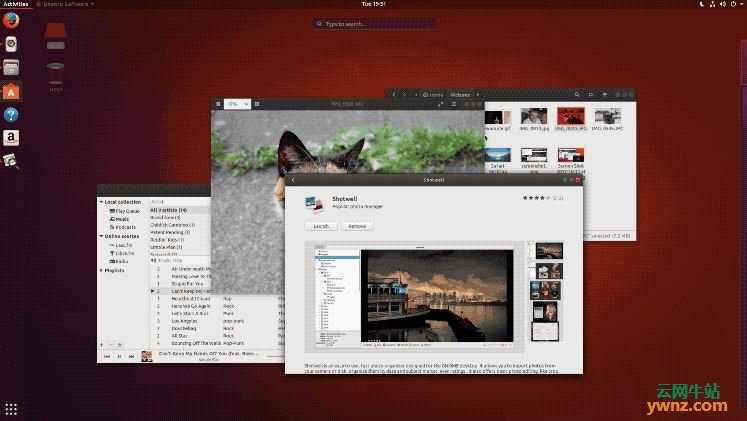
Ubuntu 17.10桌面截图:
相关主题 |