|
第一种就是网上大多数使用的方法,英文的教程,这里不翻译了,非常简单,一看就懂。但发现这种设置给出的字体不全,那如何来让控制台使用UbuntuMono字体呢?(第二种方法。)
第一种方法 To adjust the font/font-size used for the TTY, run sudo dpkg-reconfigure console-setup, which will guide you through the steps to choose a font and font-size: 1.Choose the default UTF-8, and press Tab to go highlight OK and then press Enter to go to the next step. (You can press it again and highlight Cancel to go back.)
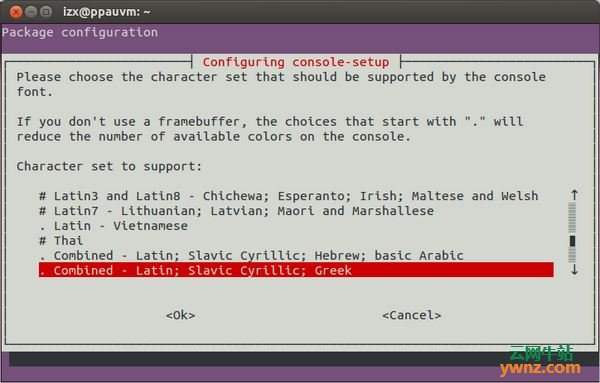
2.Choose the default Combined - Latin, ... option ("Latin" includes the English alphabet) and proceed to step 3:
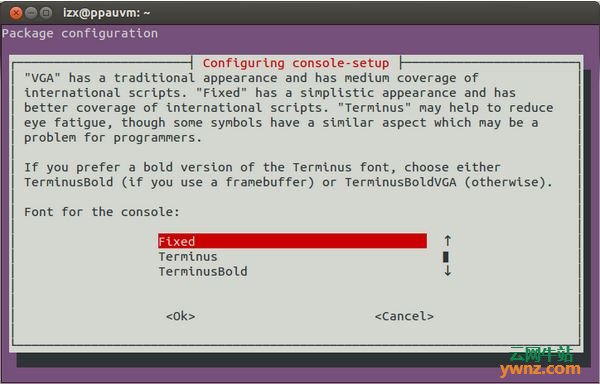
3.Select the font - be sure to read the notes above on the visual effect different fonts can have:
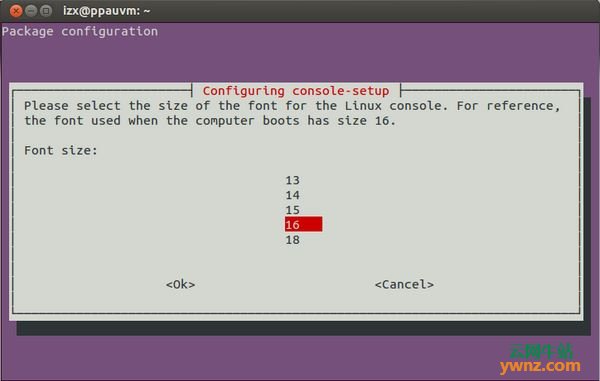
4.Select the font size:
5.Now you will exit console-setup; as the displayed message says, the new settings will be effective after reboot. To apply immediately, open a TTY and run setupcon.
第二种方法 如何设置tty使用UbuntuMono字体。 1.先安装tty下Ubuntu字体库 sudo apt install fonts-ubuntu-font-family-console 2.设置字体 sudo setfont /usr/share/consolefonts/UbuntuMono-R-8x16.psf 这两步就可成功! |