|
本文介绍在Ubuntu 18.04/Debian 9系统上安装Gitlab CE的具体步骤。
简介 GitLab是一个用于加速软件开发的全功能平台,它提供了最新的临时功能,如集成的CI/CD,Kubernetes集成,Auto DevOps,GitLab Container Registry e.t.c。
步骤1:更新系统并安装依赖项 确保系统为最新的更新状态来启动安装,请运行以下命令: sudo apt update sudo apt upgrade -y 运行以下命令安装GitLab依赖项: sudo apt install -y ca-certificates curl openssh-server
步骤2:配置Postfix仅发送SMTP服务器 GitLab能够在Git活动上向你发送电子邮件,使用以下指南配置Postfix SMTP服务器: 在Ubuntu 18.04系统上安装和配置Postfix作为SMTP服务器
步骤3:添加GitLab CE存储库 操作完上面的两个步骤后,通过运行以下命令继续将GitLab存储库添加到Ubuntu 18.04/Debian 9系统: curl -sS https://packages.gitlab.com/install/repositories/gitlab/gitlab-ce/script.deb.sh | sudo bash 在Debian 9系统中输出以下信息: Detected operating system as debian/stretch. Checking for curl... Detected curl... Checking for gpg... Detected gpg... Running apt-get update... done. Installing debian-archive-keyring which is needed for installing apt-transport-https on many Debian systems. Installing apt-transport-https... done. Installing /etc/apt/sources.list.d/gitlab_gitlab-ce.list...done. Importing packagecloud gpg key... done. Running apt-get update... done. The repository is setup! You can now install packages. 在Ubuntu 18.04系统中输出以下信息: Detected operating system as Ubuntu/bionic. Checking for curl... Detected curl... Checking for gpg... Detected gpg... Running apt-get update... done. Installing apt-transport-https... done. Installing /etc/apt/sources.list.d/gitlab_gitlab-ce.list...done. Importing packagecloud gpg key... done. Running apt-get update... done. The repository is setup! You can now install packages.
步骤4:在Ubuntu 18.04/Debian 9上安装GitLab CE 添加存储库后,使用apt package manager命令在Ubuntu 18.04/Debian 9上安装GitLab CE: sudo apt update sudo EXTERNAL_URL="http://gitlab.example.com" apt -y install gitlab-ce 在执行命令之前,将gitlab.example.com替换为你的实际域名。完成后,通过运行以下命令启动GitLab实例: sudo gitlab-ctl reconfigure 配置后应启动所有的GitLab服务: $ sudo gitlab-ctl status run: alertmanager: (pid 9775) 5787s; run: log: (pid 12211) 96423s run: gitaly: (pid 9785) 5787s; run: log: (pid 12018) 96427s run: gitlab-monitor: (pid 9797) 5786s; run: log: (pid 12048) 96426s run: gitlab-workhorse: (pid 9810) 5786s; run: log: (pid 11992) 96428s run: logrotate: (pid 18721) 2185s; run: log: (pid 11994) 96428s run: nginx: (pid 12043) 5463s; run: log: (pid 11993) 96428s run: node-exporter: (pid 9836) 5784s; run: log: (pid 12042) 96427s run: postgres-exporter: (pid 9841) 5784s; run: log: (pid 12213) 96423s run: postgresql: (pid 9847) 5784s; run: log: (pid 11977) 96428s run: prometheus: (pid 9855) 5783s; run: log: (pid 12206) 96424s run: redis: (pid 9868) 5783s; run: log: (pid 11976) 96428s run: redis-exporter: (pid 9870) 5783s; run: log: (pid 12106) 96426s run: sidekiq: (pid 15215) 4153s; run: log: (pid 11979) 96428s run: unicorn: (pid 15343) 4127s; run: log: (pid 11978) 96428s
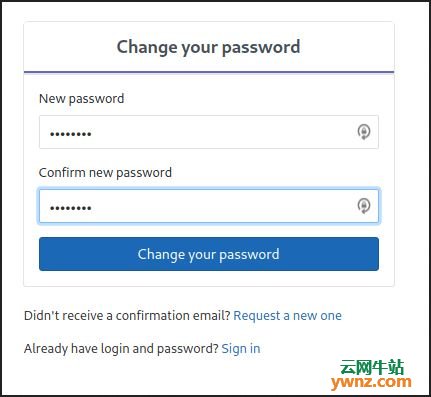
步骤5:访问GitLab CE Web界面 在Ubuntu 18.04/Debian 9系统上安装GitLab CE后,在浏览器上打开URL,地址是:http://gitlab.example.com(请修改为你的实际域名地址),打开以完成Gitlab的安装。 在下面这个屏幕上,系统会要求你更改root用户密码:
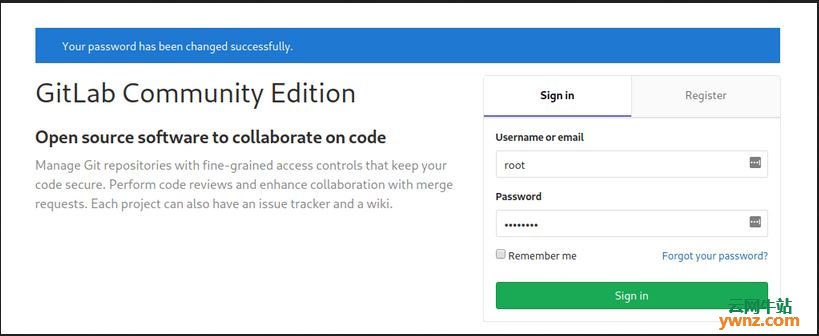
提供新密码并验证然后单击更改密码按钮,使用root用户身份和密码登录:
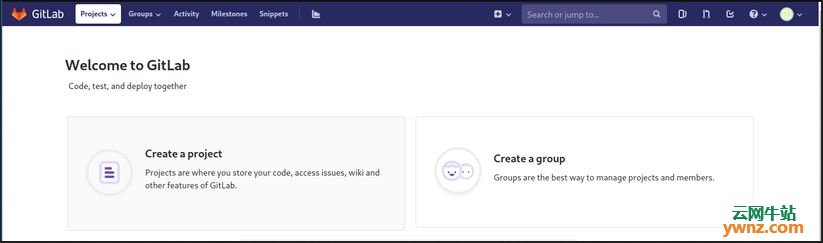
GitLab仪表板显示效果如下:
附:GitLab Administrations 每当你编辑GitLab配置文件 - /etc/gitlab/gitlab.rb时,通过运行以下命令重新配置GitLab服务: sudo gitlab-ctl reconfigure sudo gitlab-rake gitlab:check 要检查所有GitLab服务的状态,请使用: sudo gitlab-ctl status 要停止所有GitLab服务,请使用: sudo gitlab-ctl stop 要重新启动所有GitLab服务,请使用: sudo gitlab-ctl restart 你可以通过在最后证明服务名称来重新启动特定服务: $ sudo gitlab-ctl restart logrotate ok: run: logrotate: (pid 22824) 0s
相关主题 |