|
本文介绍在Ubuntu 18.04系统中安装和使用Packer的方法。
简介 Packer是一个开源工具,可以从单一源配置为多个平台创建相同的机器映像,它是一个跨平台的命令行和轻量级应用程序,能够为多个平台并行生成和高度机器映像。 Packer Machine Image是单个静态单元,包含预配置的操作系统和已安装的软件,用于快速创建新的运行机器,每个平台都会更改机器图像格式,一些示例包括EC2的AMI,VMware的VMDK/VMX文件,VirtualBox的OVF导出等。
在Ubuntu 18.04中安装Packer的方法 Packer可以从预编译的二进制文件或源代码安装,所有用户的简单和推荐方法是二进制安装方法,当前最版本是1.3.4,Packer下载地址,在终端中下载: wget https://releases.hashicorp.com/packer/1.3.4/packer_1.3.4_linux_amd64.zip 解压缩下载的文件: unzip packer_1.3.4_linux_amd64.zip 将打包器二进制文件移动到/usr/local/bin目录: sudo mv packer /usr/local/bin 安装Packer后,通过检查打包器是否可用来验证安装是否正常: $ packer Usage: packer [--version] [--help] Available commands are: build--build image(s) from template fix--fixes templates from old versions of packer inspect--see components of a template validate--check that a template is valid version--Prints the Packer version 如果将打包器bi放在不同的目录中,则PATH变量应包含此目录。
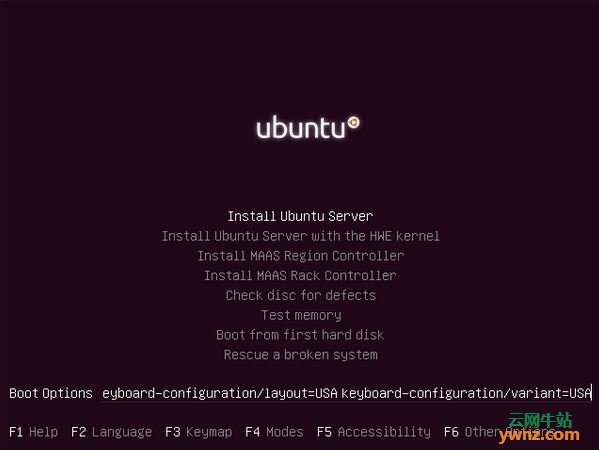
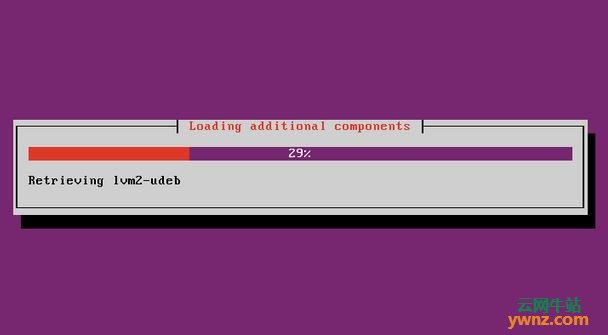
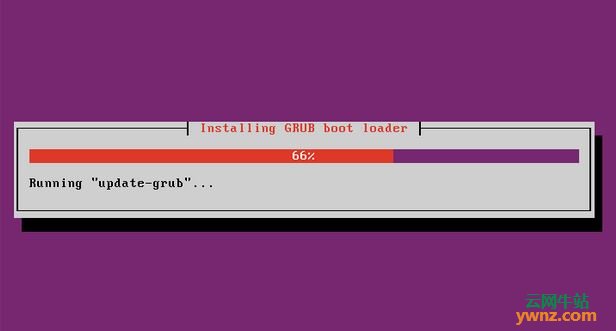
使用Packer的方法 构建器用于生成图像并从模板为各种平台创建机器,模板是一个配置文件,用于定义构建的图像,其格式为JSON。 在下面的示例中,我们将使用VirtualBox Builder创建Ubuntu 18.04 VirtualBox虚拟机并以OVA或OVF格式导出,Ubuntu 18.02.2下载地址:Ubuntu 18.04.2 LTS发布,附更新详情。 让我们创建我们的工作目录: mkdir projects/packer/ cd projects/packer/ 使用以下内容创建名为build.json的文件: { "variables": { "hostname": "ubuntu", "domain": "local", "ssh_user": "packer", "ssh_pass": "p@ck3r" }, "builders": [{ "type": "virtualbox-iso", "guest_os_type": "Ubuntu_64", "vm_name": "ubuntu-18.04-vbox-template", "iso_url": "http://cdimage.ubuntu.com/releases/18.04/release/ubuntu-18.04.2-server-amd64.iso", "iso_target_path": "/home/jmutai/iso/ubuntu-18.04.2-server-amd64.iso", "iso_checksum": "34416ff83179728d54583bf3f18d42d2", "iso_checksum_type": "md5", "memory": "1024", "cpus": "1", "disk_size": "20000", "format": "ova", "guest_additions_mode": "upload", "headless": "false", "http_directory": "http", "ssh_username": "{{user `ssh_user`}}", "ssh_password": "{{user `ssh_pass`}}", "ssh_wait_timeout": "20m", "shutdown_command": "sudo /sbin/halt -p", "boot_command": [ "<enter><wait><f6><esc><bs><bs><bs><bs><bs><bs><bs><bs><bs><bs><bs><bs><bs><bs><bs><bs><bs>", "<bs><bs><bs><bs><bs><bs><bs><bs><bs><bs><bs><bs><bs><bs><bs><bs><bs><bs><bs><bs><bs><bs>", "<bs><bs><bs><bs><bs><bs><bs><bs><bs><bs><bs><bs><bs><bs><bs><bs><bs><bs><bs><bs><bs><bs>", "<bs><bs><bs><bs><bs><bs><bs><bs><bs><bs><bs><bs><bs><bs><bs><bs><bs><bs><bs><bs><bs><bs>", "/install/vmlinuz<wait>", " auto<wait>", " console-setup/ask_detect=false<wait>", " console-setup/layoutcode=us<wait>", " console-setup/modelcode=pc105<wait>", " debconf/frontend=noninteractive<wait>", " debian-installer=en_US<wait>", " fb=false<wait>", " initrd=/install/initrd.gz<wait>", " kbd-chooser/method=us<wait>", " keyboard-configuration/layout=USA<wait>", " keyboard-configuration/variant=USA<wait>", " locale=en_US<wait>", " netcfg/get_domain={{user `domain`}}<wait>", " netcfg/get_hostname={{user `hostname`}}<wait>", " grub-installer/bootdev=/dev/sda<wait>", " noapic<wait>", " preseed/url=http://{{ .HTTPIP }}:{{ .HTTPPort }}/preseed.cfg", " -- <wait>", "<enter><wait>" ] }], "provisioners": [{ "type": "shell", "inline": [ "sleep 30", "sudo apt update", "sudo apt -y install bash-completion wget vim php php-fpm php-mysql" ] }] } 更改设置以适应ypur部署设计,我们还需要一个preseed文件来自动使用Packer在VirtualBox上安装Ubuntu 18.04。 创建JSON构建文件中指定的http目录: mkdir http 然后粘贴到http/preseed.cfg文件下面: # Language and Locale d-i debian-installer/language string en d-i debian-installer/locale string en_US.UTF-8 d-i localechooser/preferred-locale string en_US.UTF-8 d-i localechooser/supported-locales en_US.UTF-8 # Hostname / domain d-i netcfg/get_hostname string ubuntu d-i netcfg/get_domain string local # Keyboard d-i console-setup/ask_detect boolean false d-i keyboard-configuration/layout select USA d-i keyboard-configuration/variant select USA d-i keyboard-configuration/modelcode string pc105 # Timezone / Time d-i time/zone string UTC d-i clock-setup/utc-auto boolean true d-i clock-setup/utc boolean true # Server tasksel tasksel/first multiselect standard, ubuntu-server # No proxy d-i mirror/http/proxy string # Packages Policy d-i pkgsel/install-language-support boolean false d-i pkgsel/update-policy select none d-i pkgsel/upgrade select full-upgrade d-i pkgsel/include string openssh-server cryptsetup build-essential libssl-dev libreadline-dev zlib1g-dev # Partitioning d-i partman-auto/method string lvm d-i partman-auto-lvm/guided_size string max d-i partman-auto/choose_recipe select atomic d-i partman-auto/disk string /dev/sda d-i partman-lvm/confirm boolean true d-i partman-lvm/confirm_nooverwrite boolean true d-i partman-lvm/device_remove_lvm boolean true d-i partman/confirm_nooverwrite boolean true d-i partman/confirm boolean true d-i partman/confirm_write_new_label boolean true d-i partman/choose_partition select finish # Create packer user account. d-i passwd/user-fullname string packer d-i passwd/username string packer d-i passwd/user-password password p@ck3r d-i passwd/user-password-again password p@ck3r d-i user-setup/allow-password-weak boolean true d-i user-setup/encrypt-home boolean false d-i passwd/user-default-groups packer sudo 如果使用此示例,则需要更改用户名和密码,以便在预置文件中创建用户。 通过运行以下命令来构建映像: packer build build.json 由于我们在无头模式下关闭了安装,你应该能够在VirtualBox UI上观看安装。
相关主题 |