|
本文介绍在Deepin及Linux系统下安装Nix包管理器的方法。Nix包管理器能解决依赖的问题,能很好地解决了不同程序需要同一个库的不同版本的问题,并不需要像Snap、Flatpak和Appimage一样为每个应用打包一整个运行环境。官方的说法是:Nix是一个支持Linux和macOS的独特的函数式包管理器,具有原子更新、依赖隔离、构建尽可能可复现等特点。
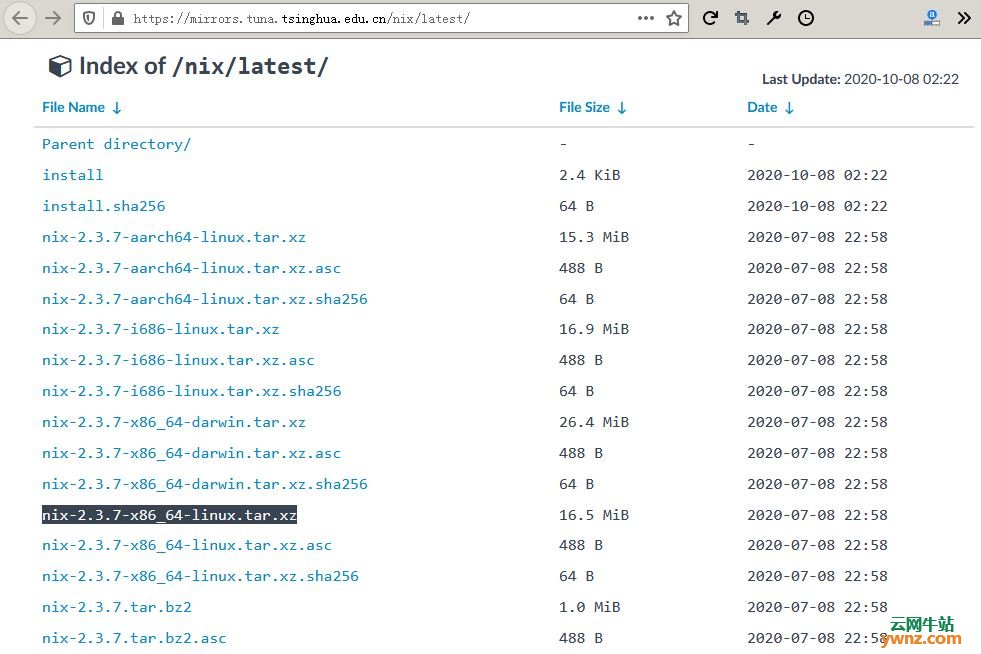
手动安装Nix包管理器的方法 下载Nix包管理器的地址:https://mirrors.tuna.tsinghua.edu.cn/nix/latest/,可在里面下载nix-2.3.7-x86_64-linux.tar.xz,然后解压nix-2.3.7-x86_64-linux.tar.xz。参考使用tar命令提取tar.xz文件和列出文件内容,从tar.xz中提取特定文件。
打开里面的install文件,找到这一行:# Subscribe the user to the Nixpkgs channel and fetch it. 把网址修改为:https://mirrors.tuna.tsinghua.edu.cn/nix-channels/nixpkgs-unstable/ 安装: 终端输入 bash install
更多安装的说明 单用户安装: $ sh <(curl https://mirrors.tuna.tsinghua.edu.cn/nix/latest/install) 如果使用的Linux(i686、x86_64、aarch64)或macOS版本最高为10.14(Mojave),也可以运行以下命令: $ sh <(curl -L https://nixos.org/nix/install) 多用户安装: $ sh <(curl https://mirrors.tuna.tsinghua.edu.cn/nix/latest/install) --daemon 可以自行挑选需要的版本安装。从Nix 2.1.0开始,Nix安装程序将始终默认为创建单用户安装,但是强烈建议选择多用户安装。 附1:单用户安装 选择单用户安装: sh <(curl -L https://nixos.org/nix/install) --no-daemon 这将执行Nix的单用户安装,这意味着/nix由调用用户拥有。应该以通常的用户帐户而不是root用户身份运行它。如果该脚本不存在,它将调用sudo来创建/nix。如果没有sudo,则应首先以root身份手动创建/nix,例如: $ mkdir /nix $ chown alice /nix 安装脚本将修改.bash_profile,.bash_login和.profile中的第一个可写文件,使其来源~/.nix-profile/etc/profile.d/nix.sh。在执行安装脚本以禁用此行为之前,可以设置NIX_INSTALLER_NO_MODIFY_PROFILE环境变量。 另外,只需运行以下命令即可卸载Nix: $ rm -rf /nix 附2:多用户安装 多用户Nix安装会创建系统用户以及Nix守护程序的系统服务。需要Linux运行systemd,禁用SELinux。 指示安装程序在系统上执行多用户安装: sh <(curl -L https://nixos.org/nix/install) --daemon Nix的多用户安装将在用户ID 30001和30032以及一个组ID为30000的组之间创建构建用户。应该以通常的用户帐户而不是root用户身份运行此用户。该脚本将根据需要调用sudo。 注意:如果需要Nix使用其他组ID或用户ID集,则必须手动下载tarball并编辑安装脚本。 安装程序将修改/etc/bashrc和/etc/zshrc(如果存在)。安装程序将首先使用.backup-before-nix扩展名备份这些文件。安装程序还将创建/etc/profile.d/nix.sh。 使用以下命令来卸载Nix: sudo rm -rf /etc/profile/nix.sh /etc/nix /nix ~root/.nix-profile ~root/.nix-defexpr ~root/.nix-channels ~/.nix-profile ~/.nix-defexpr ~/.nix-channels # 如果在Linux上使用systemd,则需要运行: sudo systemctl stop nix-daemon.socket sudo systemctl stop nix-daemon.service sudo systemctl disable nix-daemon.socket sudo systemctl disable nix-daemon.service sudo systemctl daemon-reload /etc/profile中可能也有对Nix的引用,还有/etc/bashrc和/etc/zshrc,可以将其删除。
相关主题 |