|
Apache的mod_status模块提供了一个显示web服务器状态的web页面,包括工作进程数量、活动连接等。 mod_status的输出一般被其他监控服务器状态的工具使用。这里,我们直接用它来显示一个统计状态页面,用这个页面可以方便的定位问题。
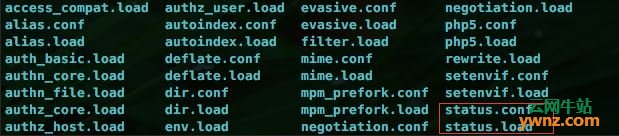
打开mod_status Apache安装之后默认是开启mod_status模块的,但是,我们最好确认一下,使用如下命令: ls /etc/apache2/mods-enabled/
上面列出的是打开的模块,看看有没有框起来的两个文件,如果没有,说明没有打开mod_status模块,使用下面命令打开: sudo a2enmod status
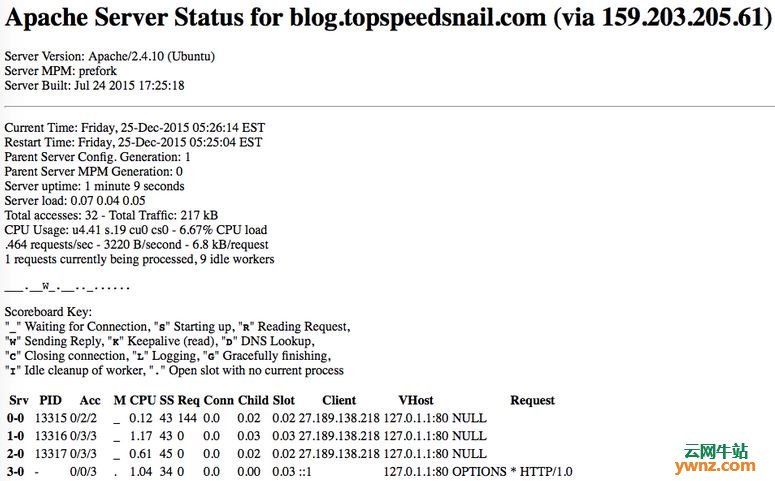
配置server-status 在如果你没有添加过virtual host到apache default配置,编辑status.conf: vim /etc/apache2/mods-enabled/status.conf 修改如下: <Location /server-status> SetHandler server-status Require local Require ip 27.189.138.218 </Location> ip改为允许访问status统计页面的ip地址。当然你可以设置为不限制IP,任何人可以查看,为了系统安全不建议这么做。 如果你添加了多个virtual host,需要在在每个VirtualHost *:80块中添加和上面一样的代码: <Location /server-status> SetHandler server-status Require local Require ip 27.189.138.218 </Location> 重启apache服务: sudo service apache2 restart 在浏览器输入:http://your_domain/server-status:
Rewrite模块 我使用的wordpress,开启了固定链接(开启rewirte模块)。默认情况下,它会把http://your_domain/server-status重定向,你会得到一个wordpress的404页面。修正方法: 进入网址根目录,.htaccess内容如下: # BEGIN WordPress <IfModule mod_rewrite.c> RewriteEngine On RewriteBase / RewriteRule ^index\.php$ - [L] RewriteCond %{REQUEST_FILENAME} !-f RewriteCond %{REQUEST_FILENAME} !-d RewriteRule . /index.php [L] </IfModule> # END WordPress 添加两行,修改之后如下: # BEGIN WordPress <IfModule mod_rewrite.c> RewriteEngine On RewriteBase / RewriteRule ^index\.php$ - [L] RewriteRule ^server-status$ - [L] RewriteCond %{REQUEST_URI} !^/mod_pagespeed_[a-z_]+$ RewriteCond %{REQUEST_FILENAME} !-f RewriteCond %{REQUEST_FILENAME} !-d RewriteRule . /index.php [L] </IfModule> # END WordPress |