|
本文将向你介绍在Ubuntu 18.04服务器版中安装LAMP服务器的全过程,LAMP就是以Linux、Apache Web、MySQL及PHP组成的构架。当前大部分的Web应用程序都部署在LAMP环境中,比如云网牛站的服务器就是LAMP,我们还使用该构架提供HTTPS访问服务。
一、安装Ubuntu 18.04服务器版 本文所用的操作系统环境是Ubuntu Server 18.04版本,如果你还没有安装该版本请参考安装Ubuntu 18.04 LTS服务器版详细步骤一文进行安装,如果你已成功安装Ubuntu Server 18.04就可以接下来的Apache Web、MySQL及PHP组件安装了。
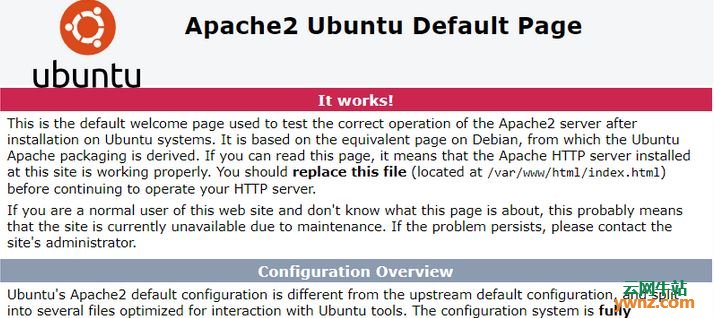
二、安装Apache2 首先,我们需要安装Apache 2 Web服务器。 apt install apache2 -y 安装后可以浏览到服务器的IP地址或DNS名称,并查看Apache附带的默认网页。
默认情况下,所有Web内容都位于/var/www/html中。 此外,/var/www/html目录中的所有内容都需要由www-data用户和www-data组拥有,以便Apache Web Server能够读取文件。 接下来,我们将安装MySQL数据库。
三、安装MySQL MySQL是一个非常强大的开源关系数据库。 运行以下命令安装MySQL。 apt install mysql-server -y 安装完成后,我们需要保护它。 运行此命令以保护MySQL。 mysql_secure_installation 这个脚本会问你几个问题。 第一个问题将要求安装验证密码插件。 VALIDATE PASSWORD PLUGIN can be used to test passwords and improve security. It checks the strength of password and allows the users to set only those passwords which are secure enough. Would you like to setup VALIDATE PASSWORD plugin? Press y|Y for Yes, any other key for No: N 我通常会回答“N”这个问题,因为我知道我的密码是安全的。 如果愿意,可以回答“Y”。 接下来,该脚本将要求你为根MySQL用户设置新密码。 New password: Re-enter new password: 该脚本现在将要求你删除匿名用户。 回答“Y.” By default, a MySQL installation has an anonymous user,allowing anyone to log into MySQL without having to have a user account created for them. This is intended only for testing, and to make the installation go a bit smoother. You should remove them before moving into a production environment. Remove anonymous users? (Press y|Y for Yes, any other key for No) : Y 接下来,它会询问你是否要远程禁止root登录。 我们应该总是回答“Y”。 Normally, root should only be allowed to connect from 'localhost'. This ensures that someone cannot guess at the root password from the network. Disallow root login remotely? (Press y|Y for Yes, any other key for No) : Y 它会要求你删除测试数据库并访问它。 回答“Y.” By default, MySQL comes with a database named 'test' that anyone can access. This is also intended only for testing,and should be removed before moving into a production environment. Remove test database and access to it? (Press y|Y for Yes, any other key for No) : Y 接下来,它会要求你重新加载权限表。 回答“Y.” Reloading the privilege tables will ensure that all changes made so far will take effect immediately. Reload privilege tables now? (Press y|Y for Yes, any other key for No) : Y 最后,脚本完成。 MySQL现已经安装成功。
四、安装PHP 在Ubuntu 18.04上安装LAMP的最后一步是安装PHP超文本预处理器。 PHP添加了支持动态网页的服务器端网页处理。 运行以下命令以安装PHP。 apt install php -y 接下来,我们需要告诉Apache首先提供PHP页面。 打开/etc/apache2/mods-enabled/dir.conf文件并将其更改为首先列出index.php。 <IfModule mod_dir.c> DirectoryIndex index.php index.html index.cgi index.pl index.xhtml index.htm </IfModule> 最后,我们需要重新启动Apache Web服务器。 systemctl restart apache2 注:到了这一步,我们算是安装LAMP成功了,如果想使LAMP可用,请进行下面的操作。
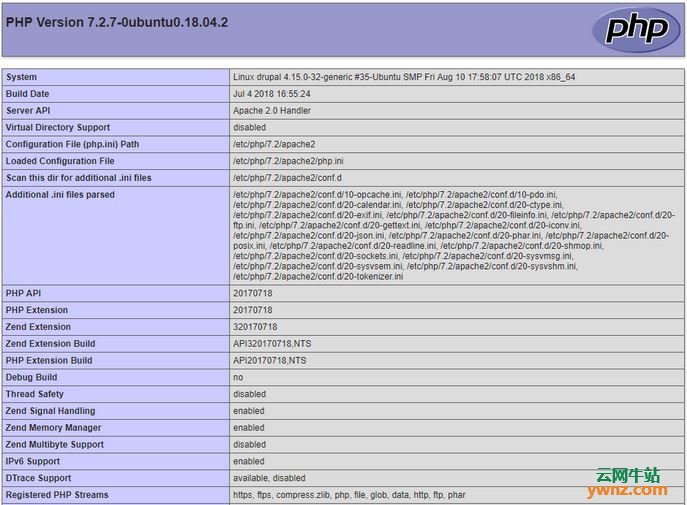
五、测试PHP 我们应该确保PHP工作正常。 在/var/www/html中创建一个名为info.php的新文件。 使用以下内容调用info.php: <?php phpinfo(); ?> 保存并退出该文件。 现在浏览到以下URL: http://{your_server}/info.php 你应该看到PHP信息页面。
验证PHP正常工作后删除该文件。 rm /var/www/html/info.php
六、安装PHP模块 最有可能的是,当安装基于PHP的应用程序时,它将具有PHP模块依赖性。 一个常见的PHP模块是php-curl模块。 我们可以用apt来安装这些。 只需在需要安装的模块前面添加“php-”。 apt install php-curl 如果在查找所需的模块时遇到问题,只需输入“apt install php”(模块的第一个字母),然后点击TAB键。 Ubuntu将为你列出所有匹配的包。 # apt install php-c php-cache-integration-tests php-cgi php-common php-console-table php-cache-lite php-cli php-composer-ca-bundle php-constant-time php-cache-tag-interop php-cli-prompt php-composer-semver php-curl php-cas php-codecoverage php-composer-spdx-licenses php-cassandra php-codesniffer php-console-commandline
到这里,在Ubuntu 18.04操作系统中安装LAMP服务器全部结束了。
相关主题 |