|
本文介绍在Ubuntu 18.04 LTS(Bionic Beaver)系统上安装和配置Dnsmasq DNS服务器。可以先参考Linux中使用Dnsmasq部署DNS服务一文。
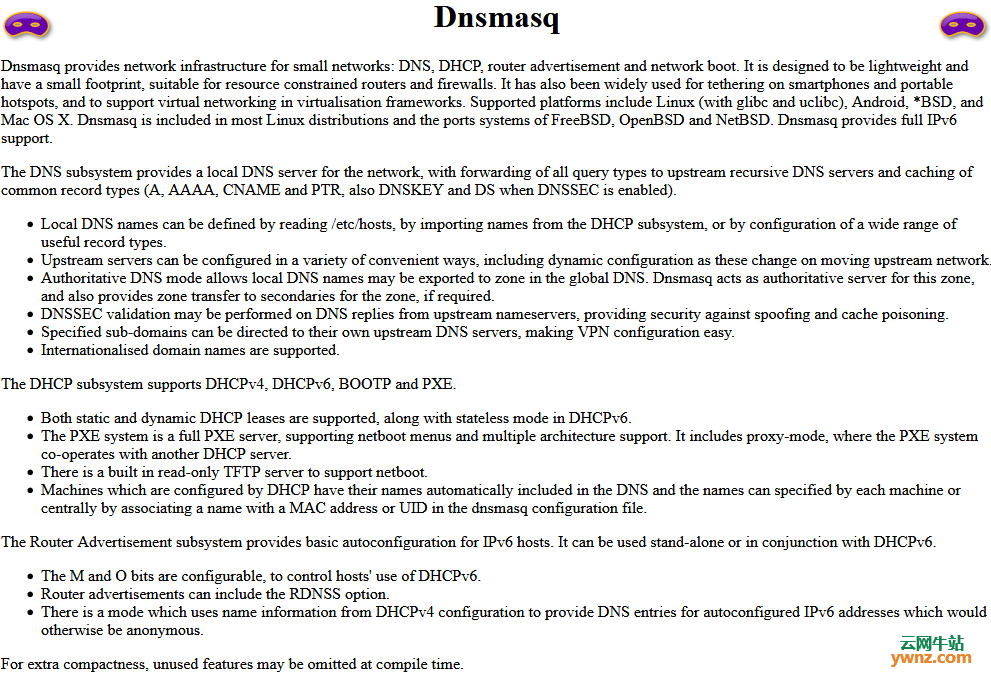
简介 对于Dnsmasq的新用户,Dnsmasq是一个简单,轻量,易于使用和管理的DNS服务器,支持Lua脚本、IPv6、DNSSEC、PXE、BOOTP和TFTP。它占用资源小,因此适用于资源受限的路由器和防火墙。同时Dnsmasq旨在为中小型网络环境提供DNS和可选的DHCP/TFTP服务,当它收到DNS查询时,它将从本地缓存中返回信息,或者将它们转发到不同的递归DNS服务器,该服务器可以是BIND或任何其他DNS服务器。 Dnsmasq有三个主要子系统,即: 1、DNS子系统:提供A、AAAA、CNAME和PTR的缓存,以及DNSKEY和DS记录。 2、DHCP子系统:提供对DHCPv4、DHCPv6、BOTP和PXE的支持,可以使用静态和动态DHCP租约,内置只读TFTP服务器来支持netboot。 3、Router Advertisement subsystem:为IPv6主机提供基本的自动配置。
在Ubuntu 18.04 LTS系统上安装和配置Dnsmasq的步骤 第一步、在Ubuntu 18.04上安装Dnsmasq 1、Ubuntu 18.04自带systemd-resolve,你需要禁用它,因为它绑定到端口53,这将与Dnsmasq端口冲突。运行以下命令以禁用已解析的服务: sudo systemctl disable systemd-resolved sudo systemctl stop systemd-resolved 2、另外,删除符号链接的resolv.conf文件: $ ls -lh /etc/resolv.conf lrwxrwxrwx 1 root root 39 Dec 8 15:52 /etc/resolv.conf -> ../run/systemd/resolve/stub-resolv.conf $ sudo rm /etc/resolv.conf 3、然后创建新的resolv.conf文件: echo "nameserver 8.8.8.8" > /etc/resolv.conf 4、Dnsmasq在apt存储库上可用,可以通过运行下面命令来轻松安装它: sudo apt-get install dnsmasq 5、Dnsmasq的主要配置文件是/etc/dnsmasq.conf,通过修改此文件配置Dnsmasq: sudo vim /etc/dnsmasq.conf 注:这是最小配置,供参考: # Listen on this specific port instead of the standard DNS port # (53). Setting this to zero completely disables DNS function, # leaving only DHCP and/or TFTP. port=53 # Never forward plain names (without a dot or domain part) domain-needed # Never forward addresses in the non-routed address spaces. bogus-priv # By default, dnsmasq will send queries to any of the upstream # servers it knows about and tries to favour servers to are known # to be up. Uncommenting this forces dnsmasq to try each query # with each server strictly in the order they appear in # /etc/resolv.conf strict-order # Set this (and domain: see below) if you want to have a domain # automatically added to simple names in a hosts-file. expand-hosts # Set the domain for dnsmasq. this is optional, but if it is set, it # does the following things. # 1) Allows DHCP hosts to have fully qualified domain names, as long # as the domain part matches this setting. # 2) Sets the "domain" DHCP option thereby potentially setting the # domain of all systems configured by DHCP # 3) Provides the domain part for "expand-hosts" #domain=thekelleys.org.uk domain=mypridomain.com # Set Liste address listen-address=127.0.0.1 # Set to Server IP for network responses 6、如果要启用DNSSEC验证和缓存,请取消注释: #dnssec 7、进行你认为相关的任何其他更改并在完成后重新启动dnsmasq: sudo systemctl restart dnsmasq 第二步、将DNS记录添加到Dnsmasq 1、在文件中添加DNS记录./etc/hosts,Dnsmasq将使用这些记录返回给客户查询: $ sudo vim /etc/hosts 10.1.3.4 server1.mypridomain.com 10.1.4.4 erp.mypridomain.com 192.168.10.2 checkout.mypridomain.com 192.168.4.3 hello.world 2、添加记录后需要重新启动dnsmasq服务: sudo systemctl restart dnsmasq 第三步、测试Dnsmasq DNS功能 1、要验证Dnsmasq是否响应了我们添加的记录,请将服务器的DNS服务器指向Dnsmasq服务器,编辑/etc/network/interfaces以进行持久配置,或者在Ubuntu 18.04服务器上编辑/etc/netplan/文件。由于这是一个测试,我将修改运行时文件/etc/resolv.conf: $ sudo vim /etc/resolv.conf nameserver 127.0.0.1 nameserver 8.8.8.8 2、使用dig测试: $ dig A erp.mypridomain.com ; <<>> DiG 9.11.3-1ubuntu1.1-Ubuntu <<>> A erp.mypridomain.com ;; global options: +cmd ;; Got answer: ;; ->>HEADER<<- opcode: QUERY, status: NOERROR, id: 43392 ;; flags: qr aa rd ra; QUERY: 1, ANSWER: 1, AUTHORITY: 0, ADDITIONAL: 1 ;; OPT PSEUDOSECTION: ; EDNS: version: 0, flags:; udp: 4096 ;; QUESTION SECTION: ;erp.mypridomain.com. IN A ;; ANSWER SECTION: erp.mypridomain.com. 0 IN A 10.1.4.4 ;; Query time: 0 msec ;; SERVER: 127.0.0.1#53(127.0.0.1) ;; WHEN: Sat Dec 29 10:35:41 2018 ;; MSG SIZE rcvd: 64 3、这是另一个例子: $ dig checkout.mypridomain.com A +noall +answer ; <<>> DiG 9.11.3-1ubuntu1.1-Ubuntu <<>> checkout.mypridomain.com A +noall +answer ;; global options: +cmd checkout.mypridomain.com. 0 IN A 192.168.10.2
将Dnsmasq配置为DHCP服务器(可选步骤) 注:你可以使用Dnsmasq为客户端分配IP地址,无论是静态还是动态。 1、编辑文件/etc/dnsmasq.conf并提供DHCP选项,你需要提供: 1]、默认网关IP地址。 2]、DNS服务器IP地址(可能是Dnsmasq或不同的DNS服务器)。 3]、网络子网掩码。 4]、DHCP地址范围。 5]、NTP服务器。 2、见下面的例子: dhcp-range=192.168.3.25,192.168.3.50,24h dhcp-option=option:router,192.168.3.1 dhcp-option=option:ntp-server,192.168.3.5 dhcp-option=option:dns-server,192.168.3.5 dhcp-option=option:netmask,255.255.255.0 3、重新启动dnsmasq并配置客户端以从此服务器获取IP地址: sudo systemctl restart dnsmasq
结语 以上就是在Ubuntu 18.04 LTS系统上安装和配置Dnsmasq的全部内容。另外要说的是:Dnsmasq是一个易于配置的DNS缓存服务器,可以加快互联网浏览和解析系统上的域记录,你还可以享受其易于配置和用于小型网络的DHCP子系统,可以参考相关主题中的使用Dnsmasq部署DHCP服务。
相关主题 |


