|
本文介绍在Ubuntu 18.04、Ubuntu 16.04服务器上安装Gogs自托管Git服务所需的所有步骤。Gogs具有出色的性能,而且非常轻便,它具有非常小的RAM和CPU利用率,具有1个CPU内核和256MB RAM的VPS足以使用Gogs服务。请按照以下步骤在Ubuntu 18.04/Ubuntu 16.04服务器上安装Gogs。
第1步:安装MariaDB数据库服务器 Gogs需要MariaDB数据库来存储数据,参考在Ubuntu 18.04系统上安装MariaDB 10.4的步骤。 安装数据库服务器后,以root用户身份登录MariaDB控制台: $ mysql -u root -p 在下面设置全局变量: SET GLOBAL innodb_file_per_table = ON; 然后创建gogs数据库: DROP DATABASE IF EXISTS gogs; CREATE DATABASE IF NOT EXISTS gogs CHARACTER SET utf8mb4 COLLATE utf8mb4_general_ci; 创建专用数据库用户来管理gogs数据库: $ mysql -u root -p Enter password: Welcome to the MariaDB monitor. Commands end with ; or \g. Your MariaDB connection id is 47 Server version: 10.4.1-MariaDB-1:10.4.1+maria~bionic-log mariadb.org binary distribution MariaDB [(none)]> GRANT ALL PRIVILEGES ON gogs.* TO 'gogs'@'localhost' IDENTIFIED BY "StrongPassword"; Query OK, 0 rows affected (0.002 sec) MariaDB [(none)]> FLUSH PRIVILEGES; Query OK, 0 rows affected (0.001 sec) MariaDB [(none)]> \q Bye
第2步:下载Gogs Gogs下载页面:https://ywnz.com/linuxrj/3077.html,新版本是Gogs 0.11.79,在终端中下载: sudo apt install wget wget https://github.com/gogs/gogs/releases/download/v0.11.79/linux_amd64.tar.gz 解压缩下载的文件: tar xvf linux_amd64.tar.gz rm -f linux_amd64.tar.gz
第3步:配置Gogs自托管Git服务 创建git用户来运行gogs服务: $ sudo adduser git Adding user `git' ... Adding new group `git' (1001) ... Adding new user `git' (1001) with group `git' ... Creating home directory `/home/git' ... Copying files from `/etc/skel' ... Enter new UNIX password: Retype new UNIX password: passwd: password updated successfully Changing the user information for git Enter the new value, or press ENTER for the default Full Name []: Room Number []: Work Phone []: Home Phone []: Other []: Is the information correct? [Y/n] y 创建日志目录: sudo mkdir /var/log/gogs sudo chown -R git:git /var/log/gogs/ 将gogs systemd服务文件复制到/etc/systemd/system目录: sudo cp gogs/scripts/systemd/gogs.service /etc/systemd/system 编辑文件以设置正确的变量: sudo vim /etc/systemd/system/gogs.service 编辑如下: [Unit] Description=Gogs self-hosted Git service After=syslog.target After=network.target After=mysql.service [Service] # Modify these two values and uncomment them if you have # repos with lots of files and get an HTTP error 500 because # of that ### #LimitMEMLOCK=infinity #LimitNOFILE=65535 Type=simple User=git Group=git WorkingDirectory=/home/git ExecStart=/home/git/gogs web Restart=always Environment=USER=git HOME=/home/git # Some distributions may not support these hardening directives. If you cannot start the service due # to an unknown option, comment out the ones not supported by your version of systemd. ProtectSystem=full PrivateDevices=yes PrivateTmp=yes NoNewPrivileges=true [Install] WantedBy=multi-user.target 如果使用端口3000具有不同的服务,则可以设置自定义端口,比如: ExecStart=/home/git/gogs web -port 3001 复制/home/gogs中的gogs目录内容: sudo rsync -avz gogs/* /home/git/ 将/home/git/的所有权更改为user.git: sudo chown -R git:git /home/git/ 重新加载systemd并启动gogs服务: sudo systemctl daemon-reload sudo systemctl start gogs 启用服务以在启动时启动: sudo systemctl enable gogs 可以通过运行以下命令来检查服务状态: sudo systemctl status gogs 在终端上输入命令gogs作为git用户应该打印帮助页面。 $ ./gogs NAME: Gogs - A painless self-hosted Git service USAGE: gogs [global options] command [command options] [arguments...] VERSION: 0.11.79 COMMANDS: web:Start web server serv:This command should only be called by SSH shell hook:Delegate commands to corresponding Git hooks cert:Generate self-signed certificate admin:Perform admin operations on command line import:Import portable data as local Gogs data backup:Backup files and database restore:Restore files and database from backup help, h:Shows a list of commands or help for one command GLOBAL OPTIONS: --help, -h:show help --version, -v:print the version
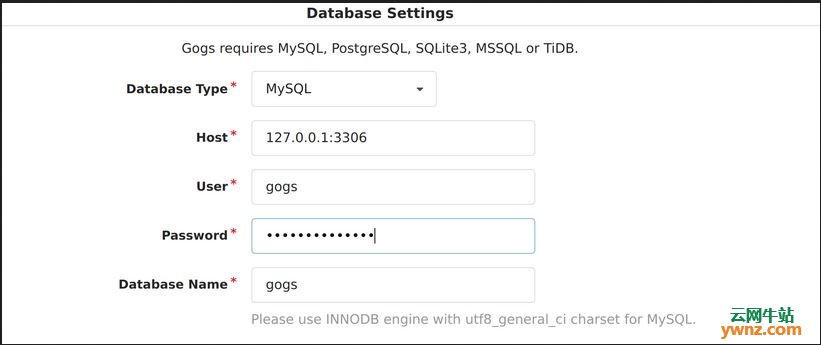
第4步:配置Gogs自托管Git服务 输入地址如http://serverip:3000/instal(替换成自己的地址)以完成Gogs的安装。 1、设置数据库认证
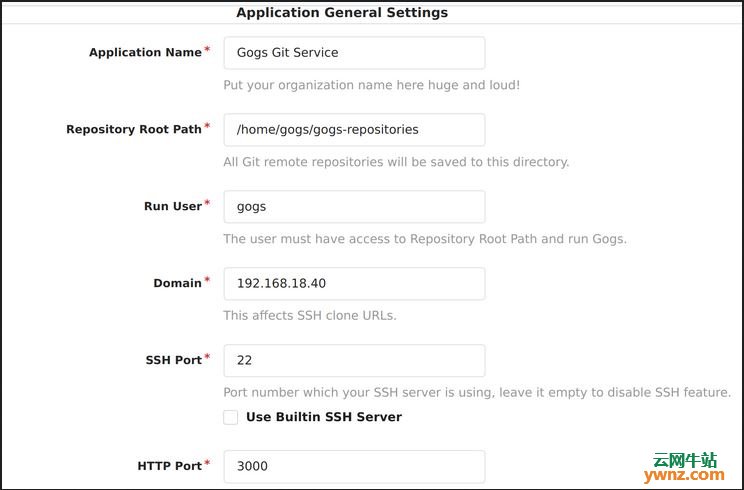
提供的用户名和密码应与数据库配置部分中提供的用户名和密码相匹配,如果数据库服务器位于其他主机上,请在主机部分下提供IP地址。 2、设置应用程序常规设置 提供应用程序URL,这可以是可路由的服务器IP地址或解析为IP的域名,应该为SSH设置相同的内容:
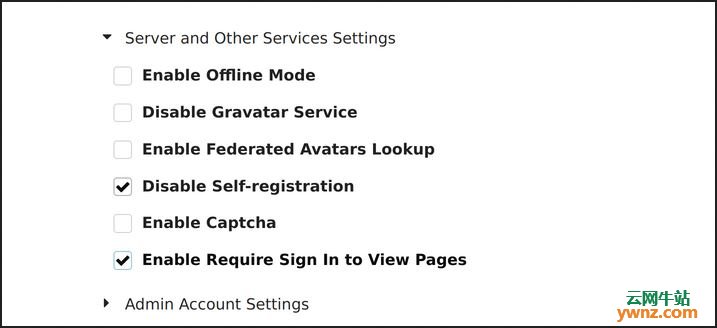
3、禁用用户自行注册 可以在服务器和其他服务设置下禁用用户自行注册,这意味着管理员用户将手动创建用户帐户:
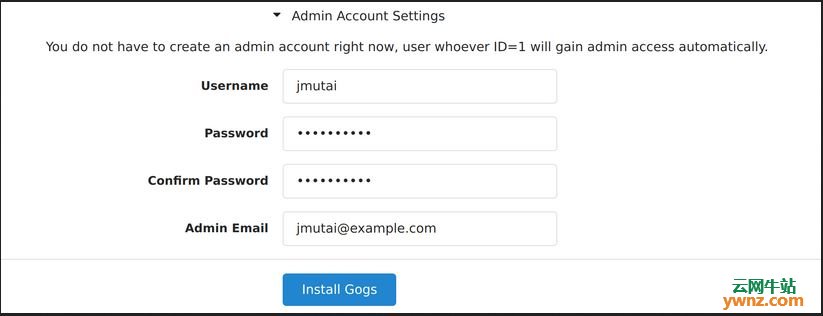
可以选择创建管理员用户帐户,默认情况下,root用户将自动获得管理员权限:
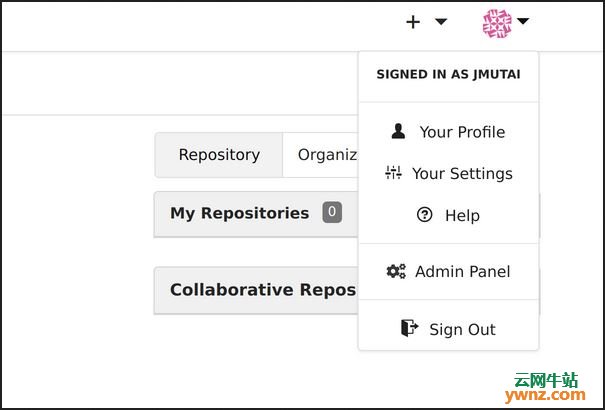
完成配置后,单击安装Gogs按钮完成安装,成功安装后,你应该登录Gogs管理控制台进行必要的调整了。 4、创建其他用户帐户 要添加用户帐户,请打开右上方面板上的管理面板:
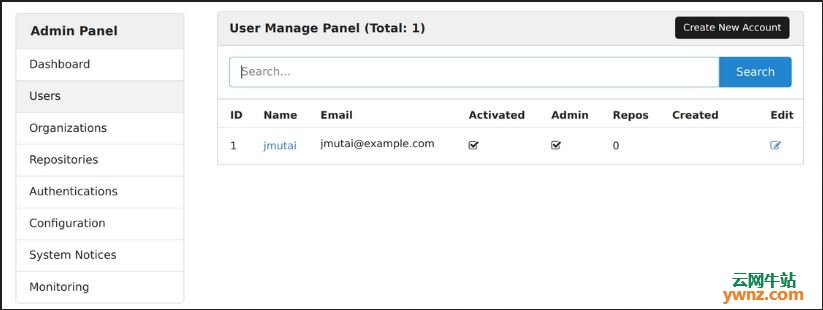
然后使用创建新帐户链接向Gogs添加新用户:
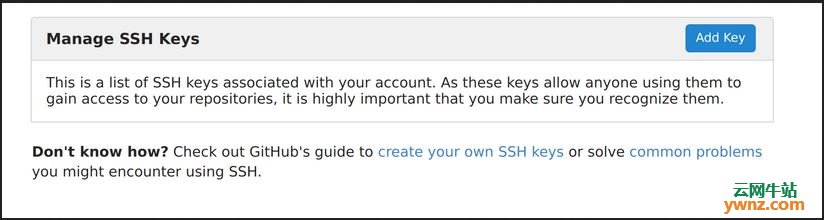
第5步:测试Gogs自托管Git服务 创建一个名为test-repo的新存储库。 尝试cloning the repo: $ git clone http://192.168.18.40:3000/jmutai/test-repo.git Cloning into 'test-repo'... Username for 'http://192.168.18.40:3000': jmutai Password for 'http://jmutai@192.168.18.40:3000': <Enter Password> remote: Counting objects: 4, done. remote: Compressing objects: 100% (3/3), done. remote: Total 4 (delta 0), reused 0 (delta 0) Unpacking objects: 100% (4/4), done. 要避免密码身份验证,请在配置文件> SSH密钥>添加密钥下添加SSH公钥:
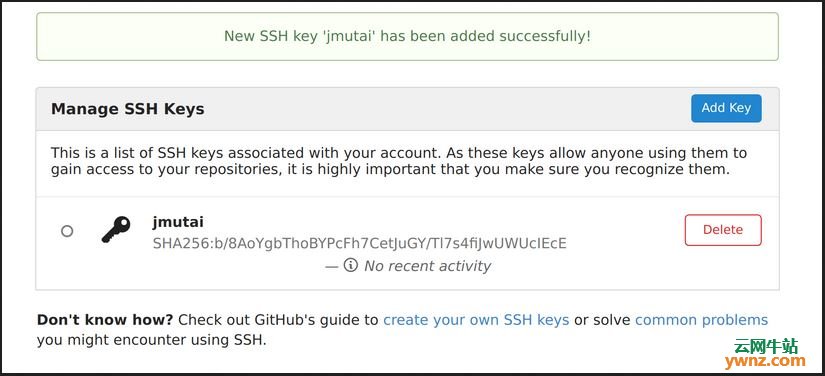
提供密钥名称,并将SSH公钥粘贴到内容框中:
ssh git clone应该不要求输入密码: $ git clone git@192.168.18.40:jmutai/test-repo.git Cloning into 'test-repo'... Warning: Permanently added '192.168.18.40' (ECDSA) to the list of known hosts. remote: Counting objects: 4, done. remote: Compressing objects: 100% (3/3), done. remote: Total 4 (delta 0), reused 0 (delta 0) Receiving objects: 100% (4/4), done.
第6步:配置Nginx反向代理(可选步骤) 如果想使用没有端口的域名访问Gogs,则需要配置Apache或NGINX反向代理: sudo apt install nginx 创建VirtualHost反向代理配置文件 sudo vim /etc/nginx/conf.d/gogs.conf 增加以下代码: server { listen 80; server_name git.example.com; location / { proxy_pass http://localhost:3000; } } 如果使用SSL并希望将http发送到https重定向,请使用: server { listen 80; server_name git.example.com; location / { rewrite ^ https://git.example.com$request_uri? permanent; } } server { listen 443 ssl; ssl_certificate /etc/letsencrypt/live/git.example.com/fullchain.pem; ssl_certificate_key /etc/letsencrypt/live/git.example.com/privkey.pem; server_name git.example.com; location / { proxy_pass http://localhost:3000; } } 请务必将git.example.com替换为你的实际域名,到这里,配置Nginx反向代理就完成了。
相关主题 |