|
本文带你完成在CentOS 7系统上使用Nginx与Letsencrypt SSL安装Dokuwiki的全部步骤,先设置服务器主机名,命令是sudo hostnamectl set-hostname x[x请设为自己的](参考:如何更改Ubuntu 18.04 Hostname主机名)。
第1步:更新系统并安装开发工具 建议确保更新所有系统软件包: sudo yum -y update sudo yum -y install git vim bash-completion curl wget unzip tar 重新启动服务器以使内核等新更改生效: sudo reboot
第2步:为php 7.x添加epel和Remi存储库 一旦服务器在重启后启动,继续安装所有必需的php模块,包括Nginx使用的php fpm,但首先需要将epel和remi存储库添加到系统中: sudo yum install epel-release yum-utils sudo yum install http://rpms.remirepo.net/enterprise/remi-release-7.rpm sudo yum makecache fast sudo yum-config-manager --disable remi-php54 sudo yum-config-manager --enable remi-php72
第3步:安装php 7和nginx 通过运行以下命令安装php 7: sudo yum -y install php-cli php-fpm php-mysql php-zip php-ldap php-devel php-gd php-mcrypt php-mbstring php-curl php-xml php-pear php-bcmath 上面是提供DokuWiki所需的所有模块。
第4步:下载Dokuwiki并将其解压缩到Document根目录 目前最新稳定版本是release_stable_2018-04-22a,可到dokuwiki下载页面下载: wget https://github.com/splitbrain/dokuwiki/archive/release_stable_2018-04-22b.tar.gz 使用tar提取DokuWiki存档: tar xvf release_stable_2018-04-22b.tar.gz sudo mkdir -p /var/www/html/ sudo mv dokuwiki-release_stable_2018-04-22b /var/www/html/dokuwiki 将/var/www/html/dokuwiki的所有权更改为www-data用户和组: sudo chown -R nginx:nginx /var/www/html/dokuwiki/
第5步:安装Letsencrypt并请求新证书 我们将使用certbot-auto请求SSL证书,通过下载二进制包并将其放在/use/local/bin目录中来安装它: sudo wget https://dl.eff.org/certbot-auto -P /usr/local/bin sudo chmod a+x /usr/local/bin/certbot-auto 下载后,如果有活动的防火墙服务,请在防火墙上打开http和https端口: sudo firewall-cmd --add-service {http,https} --permanent sudo chmod a+x /usr/local/bin/certbot-auto 然后获得证书: export DOMAIN="填写服务器主机名" export EMAIL="youremailaddress" certbot-auto certonly --standalone -d $DOMAIN --preferred-challenges http --agree-tos -n -m $EMAIL --keep-until-expiring 启用nginx服务以在启动时启动: sudo systemctl enable nginx
第6步:配置Nginx sudo vim /etc/nginx/conf.d/dokuwiki.conf 添加以下内容,修改以适合你的用例,将注意将wiki.mydomain.com修改成自己的域名: server { listen 443 ssl; server_name wiki.mydomain.com; root /var/www/html/; access_log /var/log/nginx/dokuwiki.access.log; error_log /var/log/nginx/dokuwiki.error.log; ssl on; ssl_certificate /etc/letsencrypt/live/wiki.mydomain.com/fullchain.pem; ssl_certificate_key /etc/letsencrypt/live/wiki.mydomain.com/privkey.pem; ssl_session_timeout 5m; ssl_ciphers 'AES128+EECDH:AES128+EDH:!aNULL'; ssl_protocols TLSv1 TLSv1.1 TLSv1.2; ssl_prefer_server_ciphers on; index index.html index.php doku.php; location / { try_files $uri $uri/ @dokuwiki; } location @dokuwiki { rewrite ^/_media/(.*) /lib/exe/fetch.php?media=$1 last; rewrite ^/_detail/(.*) /lib/exe/detail.php?media=$1 last; rewrite ^/_export/([^/]+)/(.*) /doku.php?do=export_$1&id=$2 last; rewrite ^/(.*) /doku.php?id=$1 last; } location ~ /(data|conf|bin|inc)/ { deny all; } location ~* \.(css|js|gif|jpe?g|png)$ { expires 1M; add_header Pragma public; add_header Cache-Control "public, must-revalidate, proxy-revalidate"; } location ~ \.php$ { fastcgi_split_path_info ^(.+\.php)(/.+)$; fastcgi_pass unix:/var/run/php-fpm/php-fpm.sock; fastcgi_index index.php; include fastcgi_params; fastcgi_param SCRIPT_FILENAME $document_root$fastcgi_script_name; fastcgi_intercept_errors off; fastcgi_buffer_size 16k; fastcgi_buffers 4 16k; } location ~ /\.ht { deny all; } } server { listen 80; server_name wiki.mydomain.com; add_header Strict-Transport-Security max-age=2592000; rewrite ^ https://wiki.mydomain.com$request_uri? permanent; }
第7步:配置php-fpm并启动nginx/php-fpm 现在我们已经配置了nginx,让我们配置php-fpm,打开文件: sudo vim /etc/php-fpm.d/www.conf 根据指定在文件上配置以下参数: user = nginx group = nginx listen = /var/run/php-fpm/php-fpm.sock listen.owner = nginx listen.group = nginx listen.mode = 0660 启动并启用nginx,php-fpm: sudo systemctl start php-fpm nginx sudo systemctl enable php-fpm
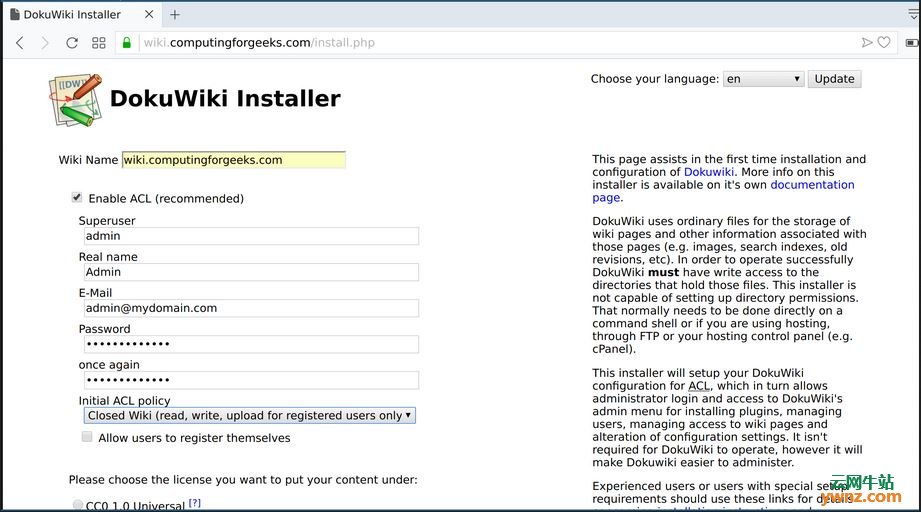
第8步:在CentOS 7上配置DokuWiki 通过打开链接启动DokuWiki配置:https://wiki.mydomain.com/install.php,将获得如下安装页面:
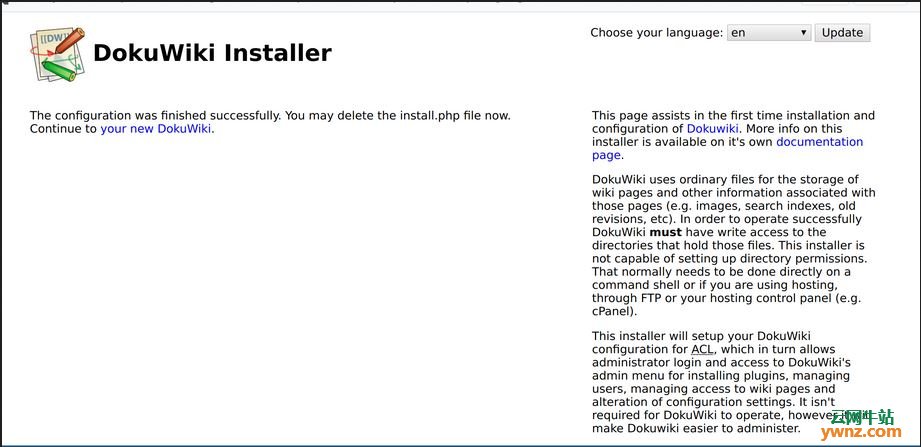
提供管理员用户详细信息,在初始ACL策略中选择以下策略之一: 打开Wiki-面向所有人开放。 公共Wiki-为注册用户阅读所有内容,上传和编辑。 Closed Wiki-仅限注册用户访问。 检查是否要允许用户注册自己,完成后,单击保存,维基页面现在应该准备好了:
点击你的新DokuWiki(your new DokuWiki)进入DokuWiki主页。
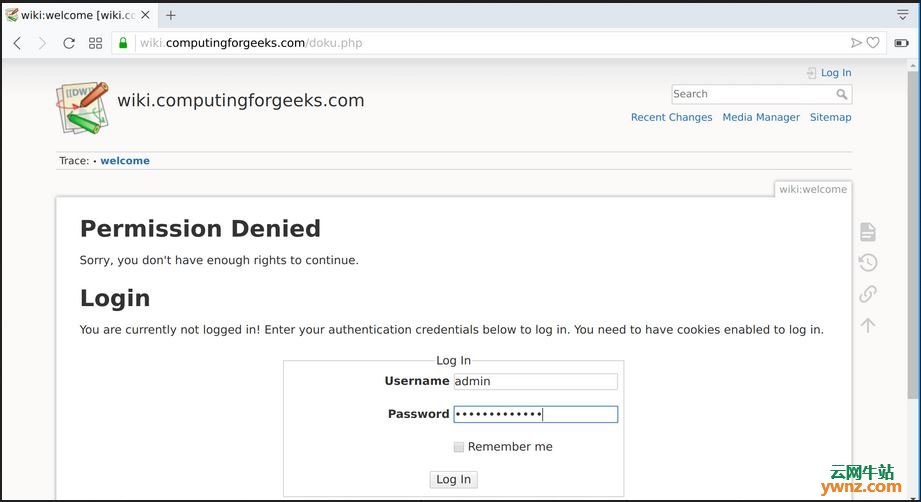
第9步:将用户添加到DokuWiki 如果你选择了Closed Wiki | Public作为你的ACL策略,你将获得编辑的登录页面,使用之前创建的管理员帐户登录,开始将其他用户添加到系统中:
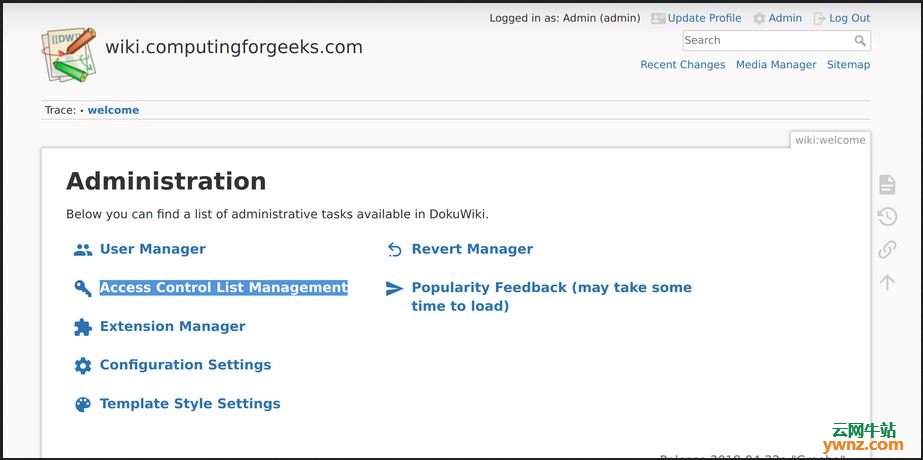
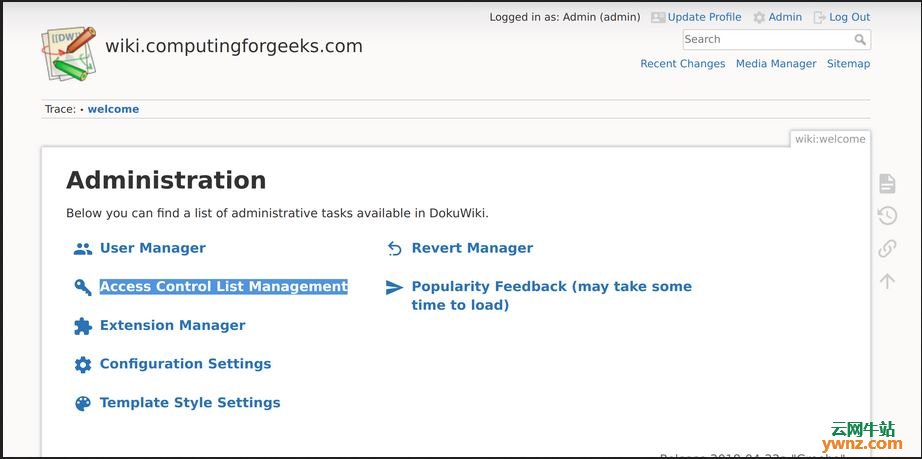
点击页面顶部的管理图标,即可进入管理页面:
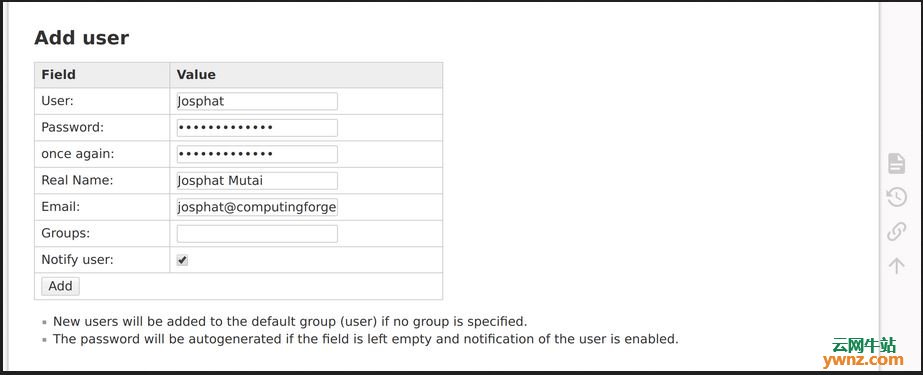
单击用户管理器以获取添加用户页面:
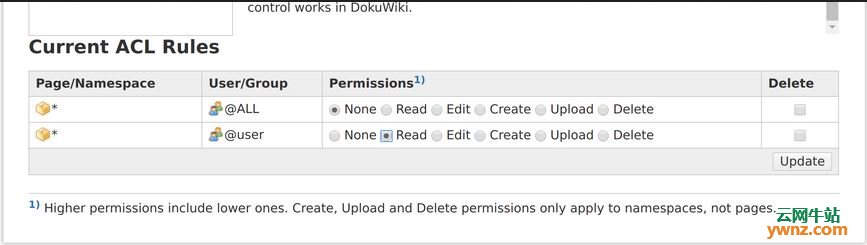
添加用户详细信息,然后单击添加按钮,添加用户后可以在访问控制列表管理页面上分配ACL:
从给定的权限中选择:
至此,配置DokuWiki完成。
相关主题 |