|
本文介绍在Ubuntu 18.04、Ubuntu 16.04系统中安装RTPProxy的方法。
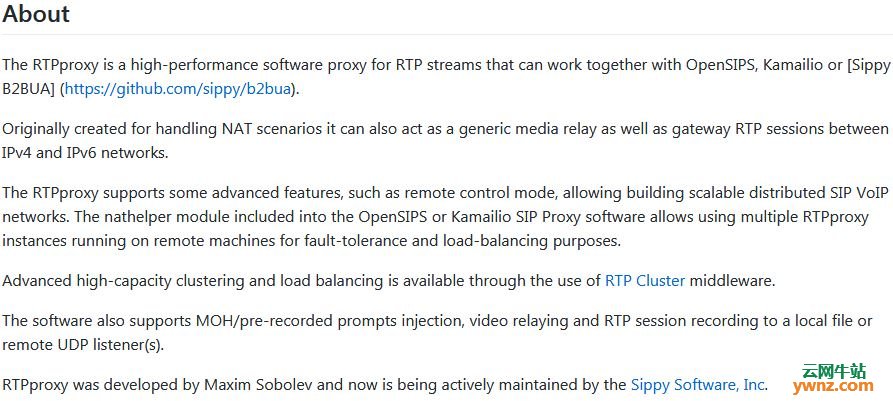
简介 RTPProxy是一个开源的高性能代理,可帮助你控制VoIP网络并优化流量,RTPProxy旨在与Kamailio等任何其他SIP代理一起使用,该工具最初由Maxim Sobolyev于2003年开发,目的是支持来自NAT防火墙后面的SIP用户代理的VoIP呼叫。 RTPProxy提供的一些功能包括: VoIP呼叫遍历NAT防火墙系统。 数据包流优化。 中继语音,视频或任何RTP数据流。 播放预编码的带内通知。 重新构建RTP有效负载。 将VoIP路由到VPN链路路由。 实时流复制。
在Ubuntu 18.04中安装RTPProxy的方法 在Ubuntu 18.04服务器中从Source安装RTPProxy,如下: $ git clone -b master https://github.com/sippy/rtpproxy.git $ git -C rtpproxy submodule update --init --recursive $ cd rtpproxy $ ./configure $ make 下面我们一一说明,我们将从源代码下载并构建RTPProxy,此构建的先决条件是git和build-essential软件包: sudo apt-get install build-essential git cmake 从Github下载项目: # cd /usr/src/ # git clone -b master https://github.com/sippy/rtpproxy.git Cloning into 'rtpproxy'... remote: Enumerating objects: 14035, done. remote: Total 14035 (delta 0), reused 0 (delta 0), pack-reused 14035 Receiving objects: 100% (14035/14035), 6.48 MiB | 274.00 KiB/s, done. Resolving deltas: 100% (10178/10178), done. # git -C rtpproxy submodule update --init --recursive Submodule 'libucl' (https://github.com/sippy/libucl.git) registered for path 'external/libucl' Submodule 'hepconnector' (https://github.com/sippy/hepconnector.git) registered for path 'hepconnector' Submodule 'libelperiodic' (https://github.com/sobomax/libelperiodic.git) registered for path 'libelperiodic' Cloning into '/srv/rtpproxy/external/libucl'... Cloning into '/srv/rtpproxy/hepconnector'... Cloning into '/srv/rtpproxy/libelperiodic'... Submodule path 'external/libucl': checked out '498117715660a1228b739d52903b246d11bbccef' Submodule path 'hepconnector': checked out '85696e9915396068955e656695e5b1287b5b7bbd' Submodule path 'libelperiodic': checked out '6f203173baece64c145a374928c9016878518abb' 下载后,cd进入目录rtpproxy并构建软件: cd rtpproxy ./configure 输入make来编译包: make 最后,输入make install来安装程序和任何数据文件: make install 在运行时,make install命令生成rtppoxy binary并将其复制到/usr/local/bin/rtpproxy。 添加rtpproxy系统用户和组: sudo groupadd --system rtpproxy sudo useradd -s /sbin/nologin --system -g rtpproxy rtpproxy 创建init脚本: sudo vim /etc/init.d/rtpproxy 添加以下内容: #! /bin/sh ### BEGIN INIT INFO # Provides: rtpproxy # Required-Start: $remote_fs $syslog # Required-Stop: $remote_fs $syslog # Default-Start: 2 3 4 5 # Default-Stop: 0 1 6 # Short-Description: RTP Proxy # Description: Relay for VoIP media streams ### END INIT INFO PATH=/usr/local/sbin:/usr/local/bin:/sbin:/bin:/usr/sbin:/usr/bin NAME=rtpproxy DESC="RTP relay" DAEMON=/usr/bin/$NAME USER=$NAME GROUP=$USER PIDFILE="/var/run/$NAME/$NAME.pid" PIDFILE_DIR=`dirname $PIDFILE` CONTROL_SOCK="unix:$PIDFILE_DIR/$NAME.sock" test -x $DAEMON || exit 0 umask 002 . /lib/lsb/init-functions # Include defaults if available if [ -f /etc/default/$NAME ] ; then . /etc/default/$NAME fi DAEMON_OPTS="-s $CONTROL_SOCK -u $USER:$GROUP -p $PIDFILE $EXTRA_OPTS" if [ ! -d "$PIDFILE_DIR" ];then mkdir "$PIDFILE_DIR" chown $USER:$GROUP "$PIDFILE_DIR" fi set -e case "$1" in start) echo -n "Starting $DESC: " start-stop-daemon --start --quiet --pidfile $PIDFILE --exec $DAEMON -- $DAEMON_OPTS echo "$NAME." ;; stop) echo -n "Stopping $DESC: " start-stop-daemon --stop --quiet --oknodo --pidfile $PIDFILE --exec $DAEMON echo "$NAME." ;; status) echo -n "Status $DESC: " PID=$(cat $PIDFILE) kill -0 $PID rc=$? # Check exit code if [ "$rc" -ne 0 ] then echo "$NAME is NOT running." exit 7 else echo "$NAME is running with PID: $PID" fi ;; restart|force-reload) echo -n "Restarting $DESC: " start-stop-daemon --stop --quiet --oknodo --pidfile $PIDFILE --exec $DAEMON sleep 1 start-stop-daemon --start --quiet --pidfile $PIDFILE --exec $DAEMON -- $DAEMON_OPTS echo "$NAME." ;; *) N=/etc/init.d/$NAME echo "Usage: $N {start|stop|status|restart|force-reload}" >&2 exit 1 ;; esac exit 0 使脚本可执行: chmod +x /etc/init.d/rtpproxy 创建sock目录: sudo mkdir -p /var/run/rtpproxy sudo chown -R rtpproxy:rtpproxy -R /var/run/rtpproxy/ 启动rtpproxy服务并使其在启动时启动: sudo systemctl daemon-reload sudo systemctl start rtpproxy.service sudo systemctl enable rtpproxy.service 至此,已经在Ubuntu 18.04系统中成功安装了RTPProxy。
相关主题 |