|
本文介绍使用Caddy Web Server托管WordPress网站的方法,启动并运行Caddy Web服务器后就可以为WordPress主机配置了。
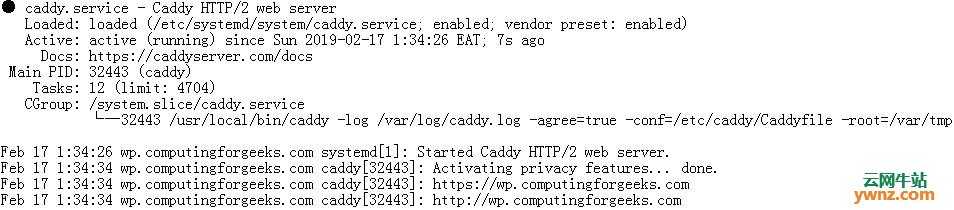
使用Caddy Web Server托管WordPress网站 我们将安装和配置由Caddy Web服务器提供支持的WordPress。 1、要运行WordPress网站,你需要PHP,Web服务器和数据库: sudo apt -y update sudo apt -y install php-fpm php-mysql php-curl php-gd php-mbstring php-common php-xml php-xmlrpc 对于CentOS 7服务器运行: sudo yum install http://rpms.remirepo.net/enterprise/remi-release-7.rpm sudo yum install epel-release sudo yum install yum-utils sudo yum-config-manager --disable remi-php54 sudo yum-config-manager --enable remi-php72 sudo yum -y install php-cli php-fpm php-mysql php-zip php-devel php-gd php-mcrypt php-mbstring php-curl php-xml php-pear php-bcmath 2、然后安装和配置MariaDB数据库,参考在CentOS 7服务器中安装MariaDB 10.4的方法。 完成后,以root用户身份登录并为WordPress创建数据库: $ mysql -u root -p Enter password: Welcome to the MariaDB monitor. Commands end with ; or \g. Your MariaDB connection id is 520 Server version: 10.3.9-MariaDB-1:10.3.9+maria~bionic-log mariadb.org binary distribution Copyright (c) 2000, 2018, Oracle, MariaDB Corporation Ab and others. Type 'help;' or '\h' for help. Type '\c' to clear the current input statement. MariaDB [(none)]> CREATE DATABASE wp_site; Query OK, 1 row affected (0.001 sec) MariaDB [(none)]> GRANT ALL PRIVILEGES ON wp_site.* to 'wp_user'@'localhost' IDENTIFIED BY 'StrongPassword'; Query OK, 0 rows affected (0.001 sec) MariaDB [(none)]> FLUSH PRIVILEGES; Query OK, 0 rows affected (0.001 sec) MariaDB [(none)]> quit Bye 3、下载WordPress并安装 现在下载WordPress并解压缩存档: wget https://wordpress.org/latest.tar.gz tar xvf latest.tar.gz 这会将tarball的所有内容提取到工作目录中名为wordpress的文件夹中。 将wordpress文件夹移动到/var/www目录: sudo mv wordpress /var/www 将所有权权限更改为userwww-data和group: sudo chown -R www-data:www-data /var/www/wordpress 配置WordPress数据库连接: mv /var/www/wordpress/wp-config-sample.php /var/www/wordpress/wp-config.php 编辑要配置的文件: sudo vim /var/www/wordpress/wp-config.php 设置下面的变量: // ** MySQL settings - You can get this info from your web host ** // /** The name of the database for WordPress */ define('DB_NAME', 'wp_site'); /** MySQL database username */ define('DB_USER', 'wp_user'); /** MySQL database password */ define('DB_PASSWORD', 'StrongPassword'); /** MySQL hostname */ define('DB_HOST', 'localhost'); /** Database Charset to use in creating database tables. */ define('DB_CHARSET', 'utf8'); /** The Database Collate type. Don't change this if in doubt. */ define('DB_COLLATE', ''); 4、配置Caddy为WordPress站点提供服务 我们已准备好WordPress安装,我们现在需要配置Caddy Web服务器来为我们的WordPress网站提供服务,首先在/etc/caddy/Caddyfile上创建一个Caddy配置文件: sudo vim /etc/caddy/Caddyfile 添加内容,如下: example.com { tls domain-admin@example.com root /var/www/wordpress gzip fastcgi / /run/php/php7.2-fpm.sock php rewrite { if {path} not_match ^\/wp-admin to {path} {path}/ /index.php?{query} } } 将example.com替换为你的WordPress网站的实际域名和domain-admin@example.com,其中包含用于请求Let's Encrypt证书的实际电子邮件地址,我们通过fastcgi使用php-fpm来支持php。 启动caddy service: sudo systemctl start caddy.service 如果开始成功,你将收到一条成功的消息: # systemctl status caddy
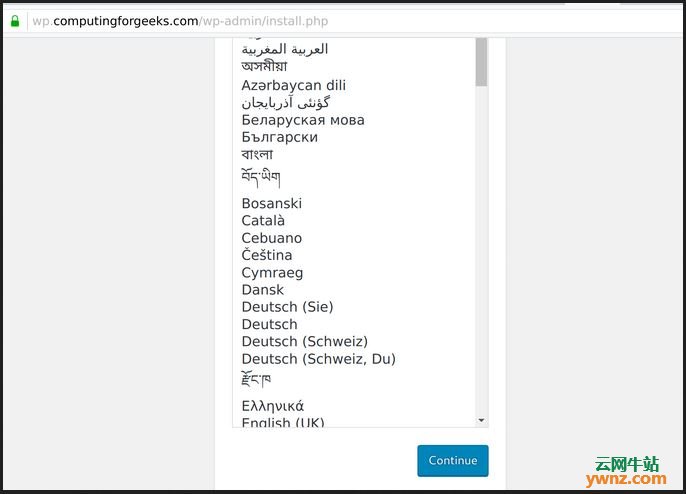
在浏览器中输入地址https://example.com访问WordPress仪表板,应该会出现初始wordpress设置页面,然后一路配置下去:
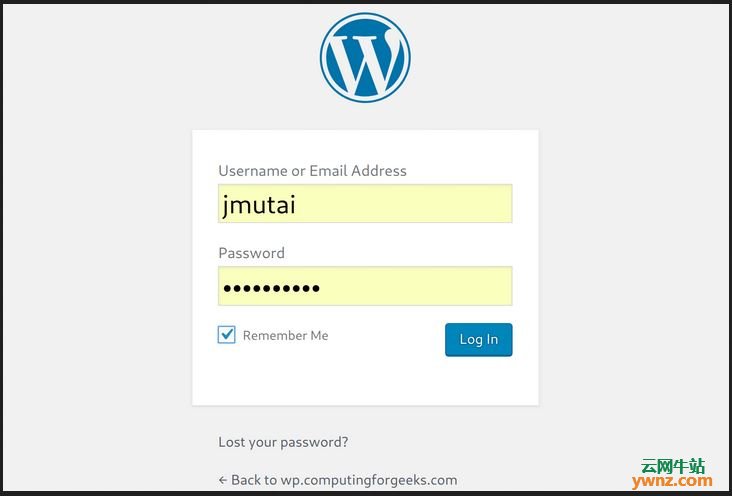
提供用户名和密码就可以登陆了:
过程都非常的简单,按要求操作即可,直到配置WordPress完成。
相关主题 |