|
本文介绍在CentOS 7系统上安装及配置ISPConfig DNS的方法,主要是展示如何设置和使用ISPConfig来管理绑定DNS服务器,要拥有一个正常运行的ISPConfig DNS服务器,我们将安装并配置Bind、安装和配置ISPConfig GUI。
简介 ISPConfig是由ISPConfig UG for Linux开发的开源托管控制面板,ISPConfig根据BSD许可证获得许可,它能够从一个控制面板管理多个服务器。 ISPConfig可以管理以下软件包和守护进程: HTTP:Apache2和nginx SMTP:Postfix POP3/IMAP:Courier和Dovecot(1.2.x) FTP:PureFTPd DNS:BIND和MyDNS 数据库:MySQL 统计:Webalizer和AWStats 虚拟化:OpenVZ
一、安装并配置绑定DNS服务器 首先安装epel-release然后bind包: sudo yum install epel-release 安装bind: sudo yum -y install bind bind-utils haveged 安装完bind后,备份配置文件并创建一个新文件: sudo mv /etc/named.conf /etc/named.conf.bak 使用以下内容创建新配置文件: # cat /etc/named.con options { listen-on port 53 { any; }; listen-on-v6 port 53 { any; }; directory "/var/named"; dump-file "/var/named/data/cache_dump.db"; statistics-file "/var/named/data/named_stats.txt"; memstatistics-file "/var/named/data/named_mem_stats.txt"; allow-query { any; }; allow-recursion {"none";}; recursion no; }; logging { channel default_debug { file "data/named.run"; severity dynamic; }; }; zone "." IN { type hint; file "named.ca"; }; include "/etc/named.conf.local"; 创建一个named.conf.local然后启动命名服务: sudo touch /etc/named.conf.local sudo systemctl enable named.service sudo systemctl start named.service
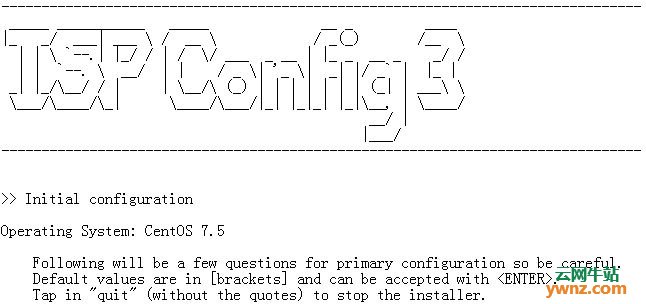
二、在CentOS 7上安装和配置ISPConfig ISPConfig要求MySQL(参考:在阿里云服务器CentOS 7上安装部署MySql 8.0)及PHP。 要安装MariaDB Server,请参考在CentOS 7服务器中安装MariaDB 10.4的方法。 1、添加Remi存储库以安装PHP 我们将从Remi存储库安装所有PHP包,添加如下: sudo yum install http://rpms.remirepo.net/enterprise/remi-release-7.rpm sudo yum install yum-utils sudo yum-config-manager --disable remi-php54 sudo yum-config-manager --enable remi-php72 2、安装PHP和所需的模块 使用以下命令安装PHP及其模块: sudo yum install php php-devel php-mysql php-gd php-imap php-ldap \ php-pear php-xml php-xmlrpc php-pecl-apc php-mbstring php-mcrypt \ php-snmp php-soap php-tidy curl curl-devel perl-libwww-perl ImageMagick \ libxml2 libxml2-devel mod_fcgid php-cli wget 安装httpd: sudo yum install ntp httpd httpd-devel mod_ssl perl-DateTime-Format-HTTP perl-DateTime-Format-Builder 设置PHP时区: $ sudo vim /etc/php.ini date.timezone = Asia/Shanghai 重启httpd: sudo systemctl restart httpd 对于Nginx: sudo yum install nginx 3、仅安装和配置ISPConfig DNS 我们要安装的版本是ISPConfig 3.1,可以到ispconfig.org网站下载,现在我们在系统终端中使用以下命令下载及安装ISPConfig: cd /tmp wget -O ispconfig.tar.gz https://git.ispconfig.org/ispconfig/ispconfig3/repository/archive.tar.gz?ref=stable-3.1 提取存档: tar xfz ispconfig.tar.gz 开始安装: cd ispconfig3*/install/ php -q install.php 会出现以下页面:
选择专家安装模式,然后选择安装Web服务和DNS,会出来如下信息: Select language (en,de) [en]: Installation mode (standard,expert) [standard]: expert Full qualified hostname (FQDN) of the server, eg server1.domain.tld [nms-02.eadc.]: dns-01.example.com MySQL server hostname [localhost]: MySQL server port [3306]: MySQL root username [root]: MySQL root password []: myslq-root-password MySQL database to create [dbispconfig]: MySQL charset [utf8]: The next two questions are about the internal ISPConfig database user and password. It is recommended to accept the defaults which are 'ispconfig' as username and a random password. If you use a different password, use only numbers and chars for the password. ISPConfig mysql database username [ispconfig]: ISPConfig mysql database password [cf503263b8a5ca9141319b09d50d75fc]: Shall this server join an existing ISPConfig multiserver setup (y,n) [n]: Apache and nginx detected. Select server to use for ISPConfig: (apache,nginx) [apache]: Adding ISPConfig server record to database. Configure Mail (y,n) [y]: n [WARN] autodetect for Jailkit failed Force configure Jailkit (y,n) [n]: n Skipping Jailkit [WARN] autodetect for pureftpd failed Force configure pureftpd (y,n) [n]: n Skipping pureftpd Configure DNS Server (y,n) [y]: y Configuring BIND The Web Server option has to be enabled when you want run a web server or when this node shall host the ISPConfig interface. Configure Web Server (y,n) [y]: y Configuring Apache Configuring vlogger [WARN] autodetect for OpenVZ failed Force configure OpenVZ (y,n) [n]: n Skipping OpenVZ Configure Firewall Server (y,n) [y]: n [WARN] autodetect for Metronome XMPP Server failed Force configure Metronome XMPP Server (y,n) [n]: n Skipping Metronome XMPP Server [WARN] autodetect for Fail2ban failed Force configure Fail2ban (y,n) [n]: n Skipping Fail2ban Configuring Apps vhost Install ISPConfig Web Interface (y,n) [y]: y Installing ISPConfig ISPConfig Port [8080]: Admin password [fa3cbace]: Do you want a secure (SSL) connection to the ISPConfig web interface (y,n) [y]: y Generating RSA private key, 4096 bit long modulus .........++ .......................++ e is 65537 (0x10001) You are about to be asked to enter information that will be incorporated into your certificate request. What you are about to enter is what is called a Distinguished Name or a DN. There are quite a few fields but you can leave some blank For some fields there will be a default value, If you enter '.', the field will be left blank. ----- Country Name (2 letter code) [XX]:KE State or Province Name (full name) []: Nairobi Locality Name (eg, city) [Default City]: Nairobi Organization Name (eg, company) [Default Company Ltd]:Computingforgeeks Limited Organizational Unit Name (eg, section) []:Infrastructure Common Name (eg, your name or your server's hostname) []:dns-01.example.com Email Address []:infrastructure@example.com Please enter the following 'extra' attributes to be sent with your certificate request A challenge password []: An optional company name []: writing RSA key Configuring DBServer Installing ISPConfig crontab Installing ISPConfig crontab no crontab for root Detect IP addresses Restarting services ... done.. 在防火墙上打开ISPConfig: sudo firewall-cmd --add-port=8080/tcp --permanent sudo firewall-cmd --reload 现在应该能够访问ISPConfig Web Dashboard,地址是https://server-ip|hostname:8080:
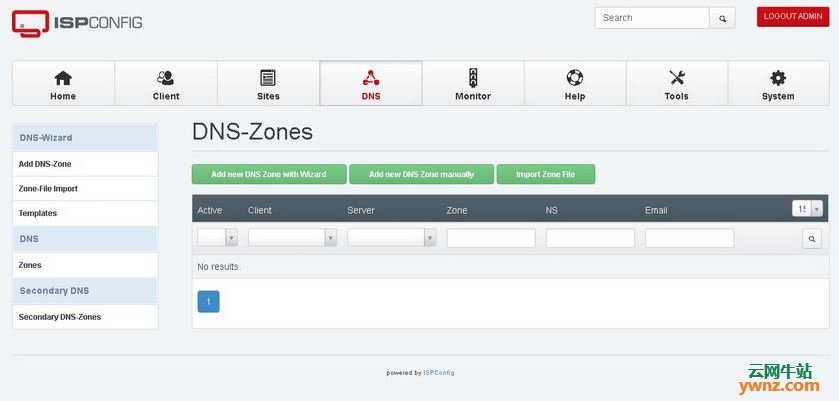
可以开始创建DNS区域文件和管理记录了,如下图:
至此,安装及配置ISPConfig完成了。
相关主题 |