|
本文介绍将Jenkins置于Nginx反向代理和Let’s Encrypt SSL之中,配置Nginx作为Jenkins服务器的反向代理,安装请先参考在CentOS 7操作系统中安装Jenkins的方法。
一、安装Nginx 需要在Linux发行版上安装Nginx Web服务器,以下是在常见Linux发行版上安装Nginx的命令: # CentOS/RHEL平台: $ sudo yum -y install nginx vim # Fedora平台: $ sudo dnf -y install nginx vim # Ubuntu/Debian平台: $ sudo apt-get -y install nginx vim
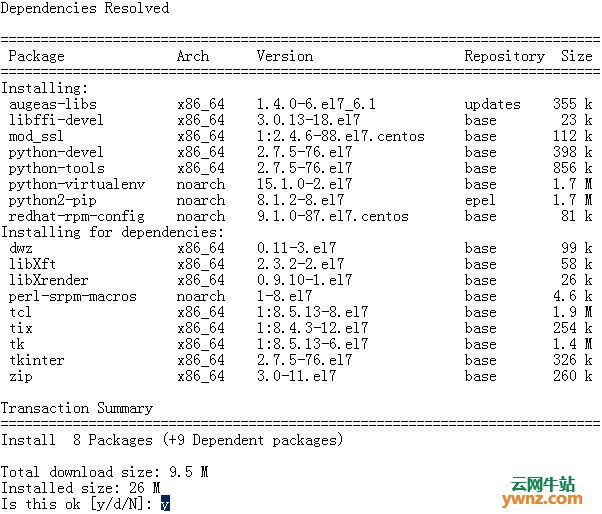
二、安装Cerbot工具 接下来是Certbot工具的安装,该工具用于获取Let的加密SSL证书,下载并安装certbot-auto命令行工具: curl -sL https://dl.eff.org/certbot-auto | sudo tee /usr/local/bin/certbot-auto 给脚本一个执行位: sudo chmod +x /usr/local/bin/certbot-auto 检查是否有效: $ certbot-auto --version certbot 0.33.1 当要求确认依赖项的安装时,回答“yes”,如下:
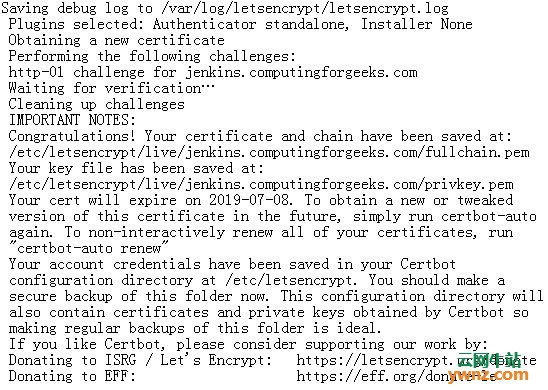
三、请求Let’s Encrypt SSL Certiticate 需要为Jenkins服务器使用的域或子域运行DNS,在我的演示中,我正在使用jenkins.computingforgeeks.com。 还需要打开80端口才能获取证书,但前提是你有活动的防火墙配置: # CentOS 7平台: $ sudo firewall-cmd --add-service={http,https} --permanent $ sudo firewall-cmd --reload # Ubuntu/Debian平台: $ sudo ufw allow proto tcp from any to any port 80,443 $ sudo ufw status 参考:Debian、Ubuntu、Linux Mint系统中的UFW防火墙入门教程。 完成后,获取Let的加密证书: export DOMAIN="jenkins.example.com" export ALERTS_EMAIL="webmaster@example.com" sudo systemctl stop nginx sudo /usr/local/bin/certbot-auto certonly --standalone -d $DOMAIN --preferred-challenges http --agree-tos -n -m $ALERTS_EMAIL --keep-until-expiring 输出信息如下:
四、配置Nginx 为Jenkins创建一个Nginx配置文件: sudo vim /etc/nginx/conf.d/jenkins.conf 把下面代码粘贴到jenkins.conf文件的下方即可: ####################################### # Jenkins Proxy configuration with SSL ####################################### upstream jenkins { server 127.0.0.1:8080 fail_timeout=0; } server { listen 80; server_name jenkins.example.com; return 301 https://$host$request_uri; } server { listen 443 ssl; server_name jenkins.example.com; ssl_certificate /etc/letsencrypt/live/jenkins.example.com/fullchain.pem; ssl_certificate_key /etc/letsencrypt/live/jenkins.example.com/privkey.pem; location / { proxy_set_header Host $host:$server_port; proxy_set_header X-Real-IP $remote_addr; proxy_set_header X-Forwarded-For $proxy_add_x_forwarded_for; proxy_set_header X-Forwarded-Proto $scheme; proxy_redirect http:// https://; proxy_pass http://jenkins; # Required for new HTTP-based CLI proxy_http_version 1.1; proxy_request_buffering off; proxy_buffering off; # Required for HTTP-based CLI to work over SSL # workaround for https://issues.jenkins-ci.org/browse/JENKINS-45651 add_header 'X-SSH-Endpoint' 'jenkins.example.com:50022' always; } } 用正确的域名替换所有出现的example.com,完成后,验证nginx配置: $ sudo nginx -t nginx: the configuration file /etc/nginx/nginx.conf syntax is ok nginx: configuration file /etc/nginx/nginx.conf test is successful 如果配置已经处理好,请启动nginx并将其设置为在启动时启动: sudo systemctl restart nginx sudo systemctl enable nginx
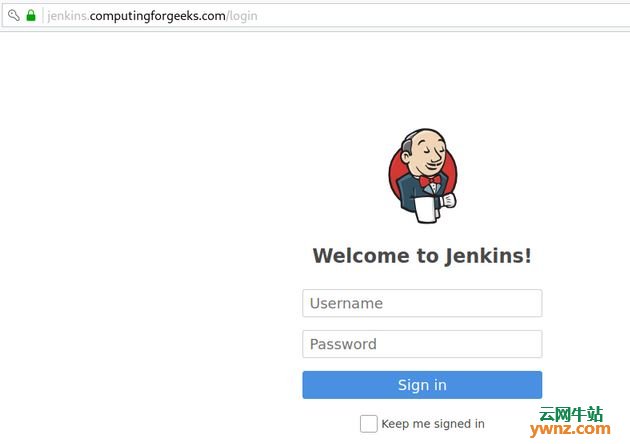
五、访问Jenkins Web界面 访问地址如:http://jenkins.example.com上的Jenkins Web界面:
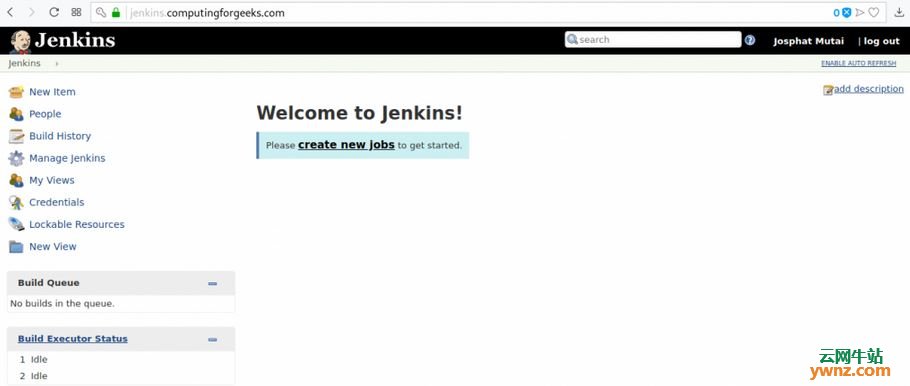
登录后就可以显示Jenkins仪表板了,如下图所示:
至此,已使用Let’s Encrypt SSL和Nginx配置搭建全新的Jenkins服务器。
相关主题 |