|
本文介绍在Ubuntu 18.04 Linux服务器上安装和设置Mastodon的详细步骤。Mastodon有许多必须安装的依赖项,它们包括Ruby、PostgreSQL、Node.js、Yarn、Redis、Nginx等。在Ubuntu 18.04 Linux上设置Mastodon时,需要的软件有:PostgreSQL 9.5+、Redis、Ruby 2.4+、Node.js 8+。在开始安装前,请先运行sudo apt -y update && sudo apt -y upgrade命令更新系统,然后再运行sudo reboot重新启动系统。
步骤1:安装Node.js、Yarn和其他依赖项程序包 1、安装Node.js curl -sL https://deb.nodesource.com/setup_8.x | sudo bash - sudo apt-get install -y nodejs 通过检查版本确认安装成功: $ nodejs --version v8.10.0 2、安装yarn: curl -sS https://dl.yarnpkg.com/debian/pubkey.gpg | sudo apt-key add - echo "deb https://dl.yarnpkg.com/debian/ stable main" | sudo tee /etc/apt/sources.list.d/yarn.list sudo apt update sudo apt -y install yarn 3、安装其他依赖项程序包 在Ubuntu 18.04上运行Mastodon需要许多系统依赖程序包,确保我们将这些软件包安装在本地系统中: sudo apt install -y imagemagick ffmpeg libpq-dev libxml2-dev libxslt1-dev file git-core g++ libprotobuf-dev protobuf-compiler pkg-config nodejs gcc autoconf bison build-essential libssl-dev libyaml-dev libreadline6-dev zlib1g-dev libncurses5-dev libffi-dev libgdbm5 libgdbm-dev nginx redis-server redis-tools certbot python-certbot-nginx yarn libidn11-dev libicu-dev libjemalloc-dev
步骤2:安装Ruby和PostgreSQL数据库 1、安装Ruby 运行Ruby的首选方法是使用rbenv,因为它可以轻松管理多个版本,我们将创建一个Mastodon用户以用于这些操作: sudo adduser --disabled-login mastodon sudo su - mastodon 然后安装rbenv和rbenv-build: git clone https://github.com/rbenv/rbenv.git ~/.rbenv cd ~/.rbenv && src/configure && make -C src echo 'export PATH="$HOME/.rbenv/bin:$PATH"' >> ~/.bashrc echo 'eval "$(rbenv init -)"' >> ~/.bashrc exec bash git clone https://github.com/rbenv/ruby-build.git ~/.rbenv/plugins/ruby-build 完成此操作后,我们可以安装正确的Ruby版本: RUBY_CONFIGURE_OPTS=--with-jemalloc rbenv install 2.6.5 rbenv global 2.6.5 ruby_2.6.0随附的默认gem版本与最新的bundler不兼容,因此我们需要更新gem并安装bundler: gem update --system gem install bundler --no-document exit 2、安装PostgreSQL数据库 参考:在Ubuntu系统上安装和配置PostgreSQL的方法。 创建用户: sudo -u postgres psql CREATE USER mastodon CREATEDB; \q
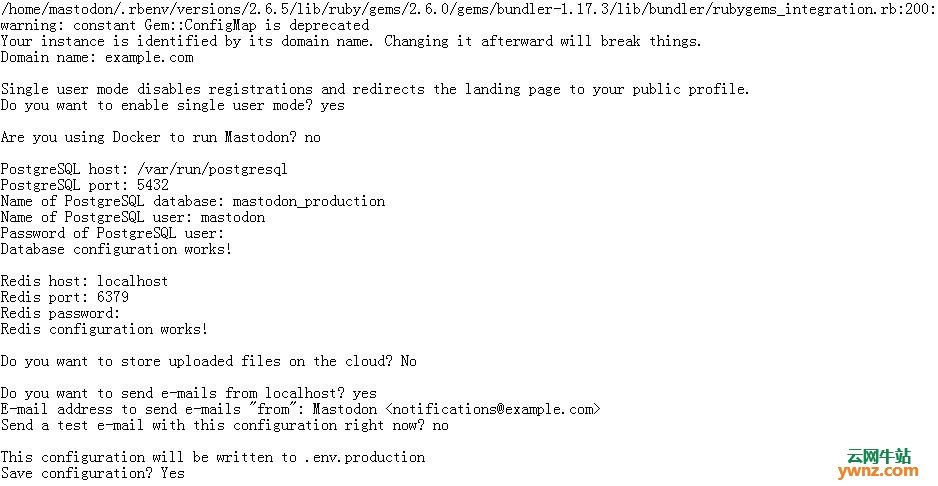
步骤3:设置Mastodon 现在该下载Mastodon代码了,将用户帐户切换到mastodon用户: sudo apt -y install git sudo su - mastodon 克隆Mastodon代码: git clone https://github.com/tootsuite/mastodon.git live && cd live git checkout $(git tag -l | grep -v 'rc[0-9]*$' | sort -V | tail -n 1) 安装最后一个依赖项: gem install bundler:1.17.3 bundle install -j$(getconf _NPROCESSORS_ONLN) --deployment --without development test yarn install --pure-lockfile 运行交互式向导以生成配置: RAILS_ENV=production bundle exec rake mastodon:setup 填写必填信息,如下图所示:
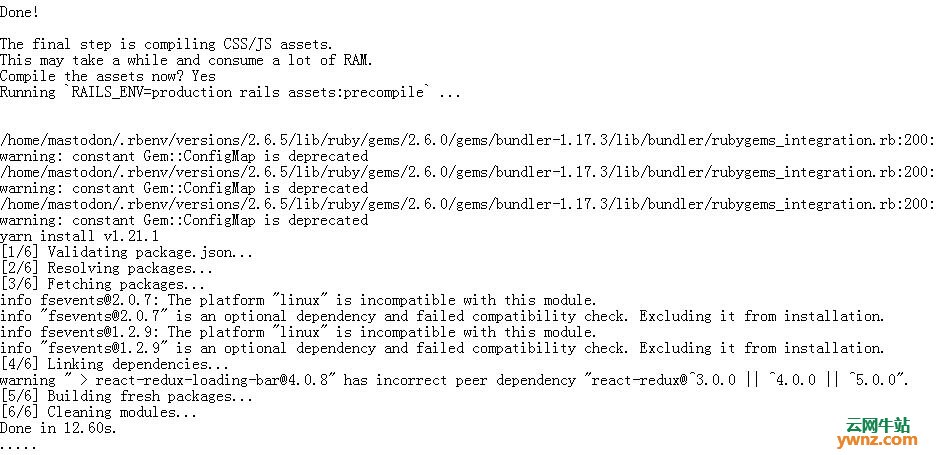
在出现提示时同意编译assets:
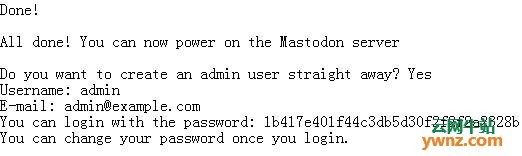
同意创建管理员帐户:
升级yarn: yarn upgrade
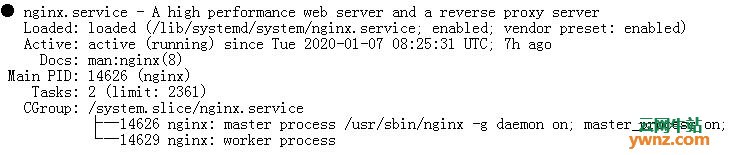
步骤4:为Mastodon设置Nginx 我们将Nginx用作Mastodon应用程序的反向代理,检查nginx服务是否正在运行: $ systemctl status nginx
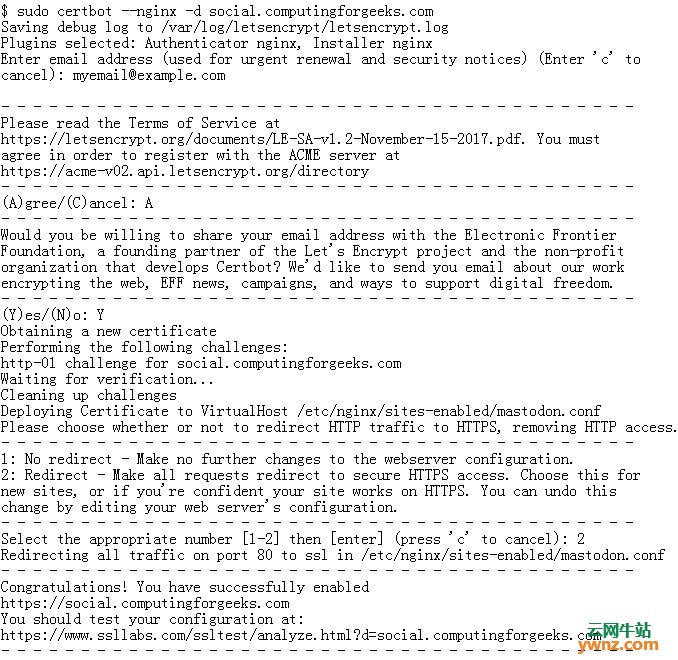
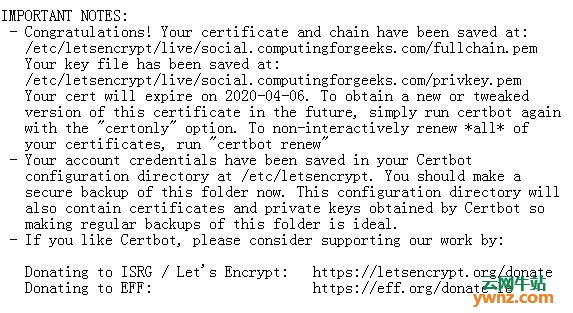
现在,从Mastodon目录复制nginx的配置模板: sudo cp /home/mastodon/live/dist/nginx.conf /etc/nginx/sites-available/mastodon.conf 编辑文件以为应用程序设置正确的DNS名称: sudo vim /etc/nginx/sites-available/mastodon.conf 完成后,激活配置: sudo ln -s /etc/nginx/sites-available/mastodon.conf /etc/nginx/sites-enabled/mastodon.conf sudo systemctl restart nginx 如果正在运行ufw防火墙,请允许服务端口: sudo ufw allow 'Nginx Full' 然后可以使用Let’s Encrypt SSL证书,如下配置。 如果要使用Let’s Encrypt证书,请运行以下命令: sudo certbot --nginx -d example.com 参考:使用Certbot:在Linux上安装letsencrypt的最简单方法。 样本输出:
注:请用实际域名替换。
步骤5:设置系统服务 从Mastodon目录中复制系统服务模板: sudo cp /home/mastodon/live/dist/mastodon-*.service /etc/systemd/system/ 然后编辑文件以确保用户名和路径正确: /etc/systemd/system/mastodon-web.service /etc/systemd/system/mastodon-sidekiq.service /etc/systemd/system/mastodon-streaming.service 最后,启动并启用新的systemd服务,运行以下命令即可: sudo systemctl daemon-reload
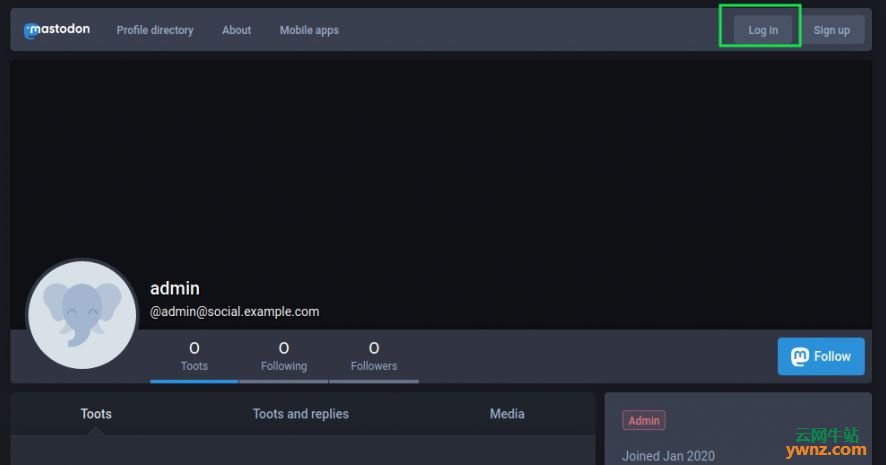
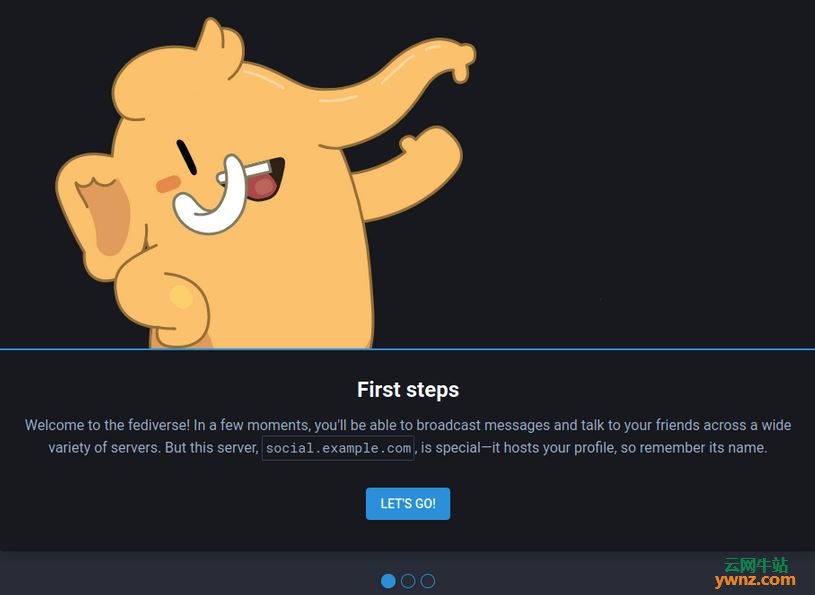
步骤6:访问Mastodon信息中心 现在,在浏览器中输入配置的域名以访问Mastodon控制中心:
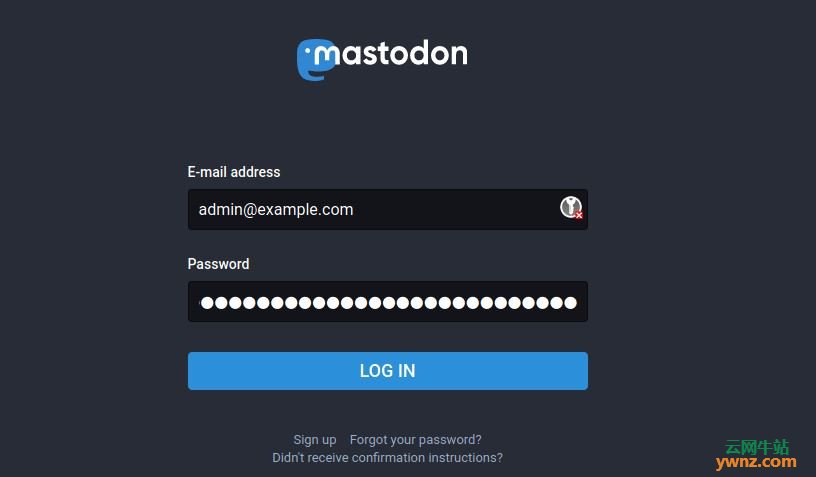
单击登录按钮登录,我将使用之前生成的管理员用户名电子邮件地址和密码:
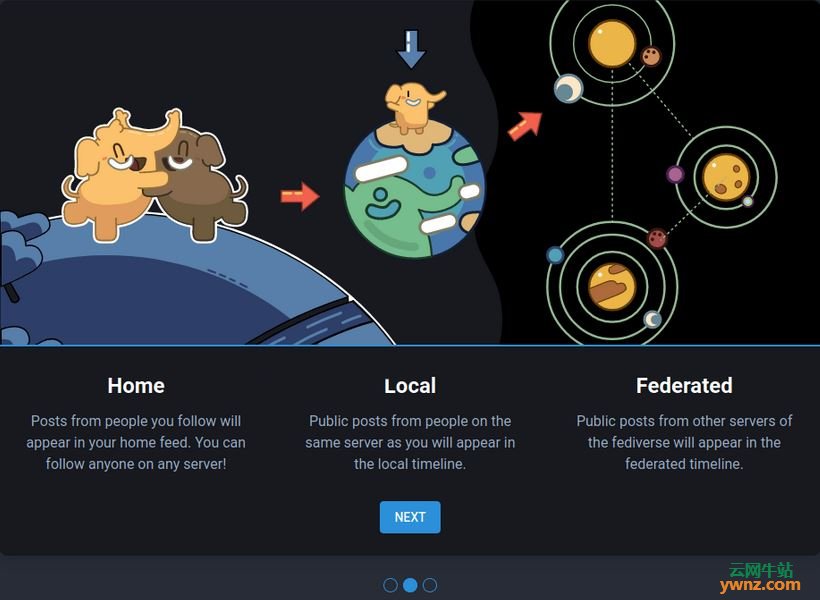
完成初始教程以完成设置。
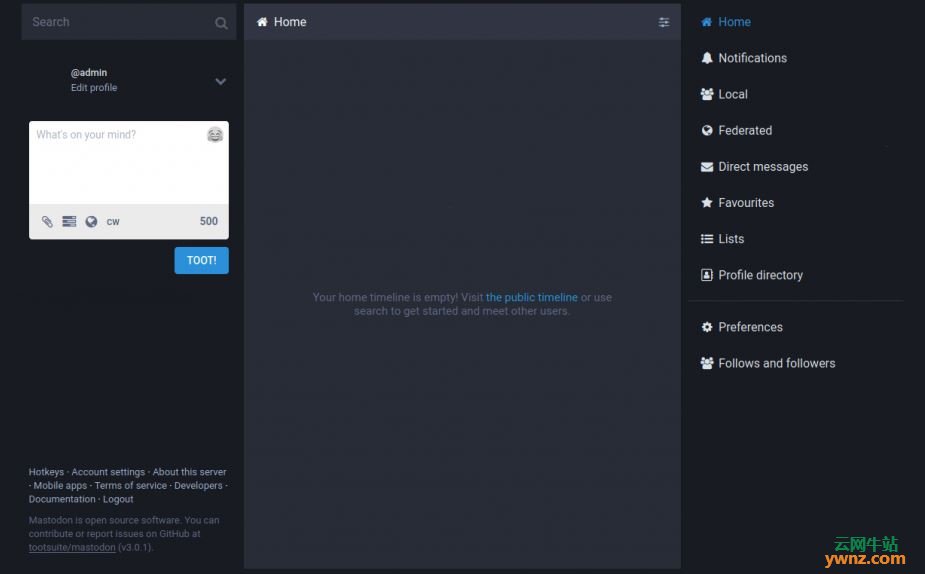
现在,将能够正常的访问到Mastodon控制中心:
至此,已在Ubuntu 18.04 Linux上安装并设置Mastodon成功了。
相关主题 |