|
本文介绍在Ubuntu 20.04/Debian 10服务器上安装Xen Orchestra(XO)来管理Xen/XCP-ng(XenServer/XCP-ng Server)的方法,内容有:安装Node.js、安装XO软件包、提取Xen Orchestra代码并进行构建、访问Xen Orchestra Web界面、添加XenServer/XCP-ng服务器。Xen Orchestra(XO)是一个Web界面工具,供Xen和XCP-ng管理员可视化和管理完整的虚拟化堆栈,Xen Orchestra不需要在台式机上安装代理即可运行,所有操作均从Web界面执行。在托管Xen Orchestra的VM上,最低硬件要求是:2个vCPU、2GiB的RAM、20GiB的可用SR空间(在Thin Pro SR上为2GiB)。
步骤1:更新系统和安装Node.js 14 1、更新系统 让我们通过更新所有系统软件包来开始安装: sudo apt update 还可以执行升级: sudo apt upgrade -y 完成升级后,您可以立即或稍后重新启动。 2、在Ubuntu 20.04/Debian 10上安装Node.js 14 请参考:在Ubuntu 20.04/18.04和Debian 10/9上安装Node.js 14版本。 或在终端中执行以下命令: curl -sL https://deb.nodesource.com/setup_14.x | sudo bash - sudo apt install -y nodejs 同时还需要安装Yarn程序包管理器,请运行: curl -sL https://dl.yarnpkg.com/debian/pubkey.gpg | gpg --dearmor | sudo tee /usr/share/keyrings/yarnkey.gpg >/dev/null echo "deb [signed-by=/usr/share/keyrings/yarnkey.gpg] https://dl.yarnpkg.com/debian stable main" | sudo tee /etc/apt/sources.list.d/yarn.list sudo apt-get update && sudo apt-get install yarn 安装完成后可用node -v和yarn -v命令查看所安装的Node.js和Yarn版本。
步骤2:在Ubuntu 20.04/Debian 10上安装XO软件包 安装Python: #For Python 2 sudo apt install python2-minimal #For Python 3 sudo apt install python3-minimal 通过运行以下命令,在Ubuntu 20.04/Debian 10上安装XO软件包: sudo apt update sudo apt install build-essential redis-server libpng-dev git libvhdi-utils lvm2 cifs-utils 确认软件包安装: The following NEW packages will be installed: binutils binutils-common binutils-x86-64-linux-gnu build-essential cifs-utils cpp cpp-9 dpkg-dev fakeroot g++ g++-9 gcc gcc-9 gcc-9-base libalgorithm-diff-perl libalgorithm-diff-xs-perl libalgorithm-merge-perl libasan5 libatomic1 libbfio1 libbinutils libc-dev-bin libc6-dev libcc1-0 libcrypt-dev libctf-nobfd0 libctf0 libdpkg-perl libfakeroot libfile-fcntllock-perl libgcc-9-dev libgomp1 libhiredis0.14 libisl22 libitm1 libjemalloc2 liblsan0 liblua5.1-0 libmpc3 libpng-dev libpng-tools libquadmath0 libstdc++-9-dev libtalloc2 libtevent0 libtsan0 libubsan1 libvhdi-utils libvhdi1 libwbclient0 linux-libc-dev lua-bitop lua-cjson make manpages-dev redis-server redis-tools zlib1g-dev 0 upgraded, 58 newly installed, 0 to remove and 0 not upgraded. Need to get 42.3 MB of archives. After this operation, 184 MB of additional disk space will be used. Do you want to continue? [Y/n] y
步骤3:获取Xen Orchestra代码并进行构建 接下来是从github克隆Xen Orchestra代码: git clone -b master http://github.com/vatesfr/xen-orchestra 现在有了代码,您可以进入xen-orchestra目录: cd xen-orchestra 开始构建Xen Orchestra,并在Ubuntu/Debian系统上安装其他依赖包: $ yarn yarn install v1.22.5 [1/5] Validating package.json... [2/5] Resolving packages... [3/5] Fetching packages... warning url-loader@1.1.2: Invalid bin field for "url-loader". info fsevents@2.3.2: The platform "linux" is incompatible with this module. info "fsevents@2.3.2" is an optional dependency and failed compatibility check. Excluding it from installation. info fsevents@1.2.13: The platform "linux" is incompatible with this module. info "fsevents@1.2.13" is an optional dependency and failed compatibility check. Excluding it from installation. [4/5] Linking dependencies... [5/5] Building fresh packages... Done in 180.55s. $ yarn build ... Using polyfills: No polyfills were added, since the `useBuiltIns` option was not set. [10:36:00] Finished 'buildStyles' after 6.95 s [10:36:00] Finished 'copyAssets' after 6.96 s Successfully compiled 129 files with Babel (17350ms). [10:37:55] Finished 'buildScripts' after 2.03 min [10:37:55] Finished 'build' after 2.03 min Done in 138.77s. 现在,您必须为xo-server创建一个配置文件: cd packages/xo-server sudo mkdir /etc/xo-server sudo cp sample.config.toml /etc/xo-server/config.toml 在此配置文件中,您可以更改xo-server的默认端口(80和443)。如果以非root用户身份运行服务器,则需要将端口设置为1024或更高。 您可以尝试启动xo-server以查看其是否有效。您应该具有以下内容: $ sudo yarn start yarn run v1.22.5 $ node bin/xo-server app-conf /home/jkmutai/xen-orchestra/packages/xo-server/config.toml +0ms app-conf /etc/xo-server/config.toml +6ms 2021-04-20T10:42:27.569Z xo:main INFO Configuration loaded. 2021-04-20T10:42:27.575Z xo:main INFO Web server listening on http://[::]:80 2021-04-20T10:42:27.651Z xo:mixins:hooks DEBUG start start… 2021-04-20T10:42:27.774Z xo:mixins:hooks WARN start failure { error: Error: Command failed with exit code 5: vgchange -an Logical volume ubuntu-vg/ubuntu-lv contains a filesystem in use. Can't deactivate volume group "ubuntu-vg" with 1 open logical volume(s) at makeError (/home/jkmutai/xen-orchestra/node_modules/execa/lib/error.js:59:11) at handlePromise (/home/jkmutai/xen-orchestra/node_modules/execa/index.js:114:26) at processTicksAndRejections (internal/process/task_queues.js:93:5) { shortMessage: 'Command failed with exit code 5: vgchange -an', command: 'vgchange -an', exitCode: 5, signal: undefined, signalDescription: undefined, stdout: '', stderr: ' Logical volume ubuntu-vg/ubuntu-lv contains a filesystem in use.\n' + ` Can't deactivate volume group "ubuntu-vg" with 1 open logical volume(s)`, failed: true, timedOut: false, isCanceled: false, killed: false } } app-conf /home/jkmutai/xen-orchestra/packages/xo-server/config.toml +219ms app-conf /etc/xo-server/config.toml +2ms 2021-04-20T10:42:27.799Z xo:xo-mixins:subjects INFO Default user created: admin@admin.net with password admin 2021-04-20T10:42:27.807Z xo:mixins:hooks DEBUG start finished 2021-04-20T10:42:27.808Z xo:mixins:hooks DEBUG clean start… 2021-04-20T10:42:27.822Z xo:mixins:hooks DEBUG clean finished 2021-04-20T10:42:27.931Z xo:main INFO Setting up / → /home/jkmutai/xen-orchestra/packages/xo-web/dist 使用forever-service(https://github.com/zapty/forever-service)将XO安装为系统服务: $ sudo yarn global add forever yarn global v1.22.5 [1/4] Resolving packages... [2/4] Fetching packages... [3/4] Linking dependencies... [4/4] Building fresh packages... success Installed "forever@3.0.4" with binaries: - forever Done in 21.97s. $ sudo yarn global add forever-service yarn global v1.22.5 [1/4] Resolving packages... [2/4] Fetching packages... [3/4] Linking dependencies... [4/4] Building fresh packages... success Installed "forever-service@0.5.11" with binaries: - forever-service - get-forever-config Done in 8.77s. $ cd ~/xen-orchestra/packages/xo-server/bin/ $ sudo forever-service install orchestra -r root -s xo-server forever-service version 0.5.11 Platform - Ubuntu 20.04.2 LTS orchestra provisioned successfully 以下是与服务orchestra进行交互的命令: Start - "sudo service orchestra start" Stop - "sudo service orchestra stop" Status - "sudo service orchestra status" Restart - "sudo service orchestra restart" 让我们启动该服务: sudo service orchestra start 确认服务正在运行: $ sudo ss -tunelp | grep *:80 会返回类似以下内容: tcp LISTEN 0 511 *:80 *:* users:(("node",pid=269785,fd=18)) ino:1883628 sk:9 v6only:0 <-> 如果您需要删除服务,请运行以下命令: sudo forever-service delete orchestra 另外安装xo-cli工具: $ sudo npm install --global xo-cli npm WARN deprecated fs-promise@2.0.3: Use mz or fs-extra^3.0 with Promise Support npm WARN deprecated nice-pipe@0.0.0: looking for maintainer /usr/bin/xo-cli -> /usr/lib/node_modules/xo-cli/dist/index.js + xo-cli@0.11.1 added 75 packages from 50 contributors in 26.199s
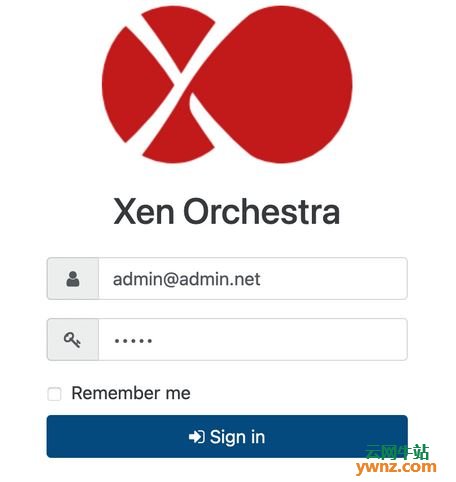
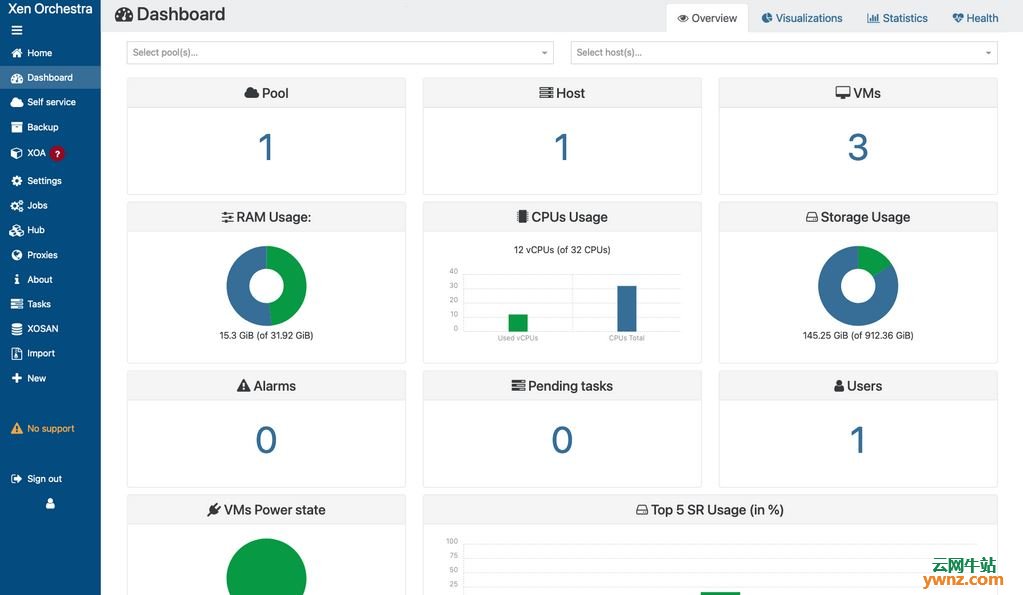
步骤4:访问Xen Orchestra Web界面 现在,您可以通过将在部署过程中配置的IP放入Web浏览器来访问Xen Orchestra的Web UI:
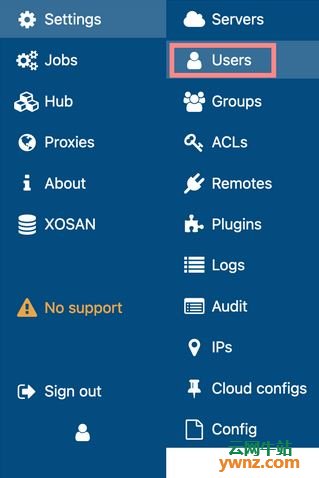
在下面的默认登录凭据下使用如下信息: Username: admin@admin.net Password: admin 导航到“设置”>“用户”(“Settings” > “Users”),如下图:
选择管理员用户,然后单击“密码(edit)”部分下的编辑以更新用户的密码:
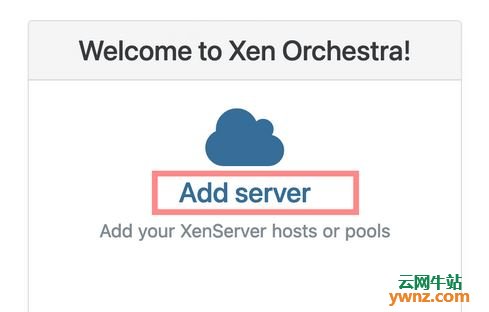
步骤5:添加XenServer/XCP-ng Server 通过转到“主页”>“添加服务器”(“Home” > “Add server”)来添加XenServer/XCP-ng Server:
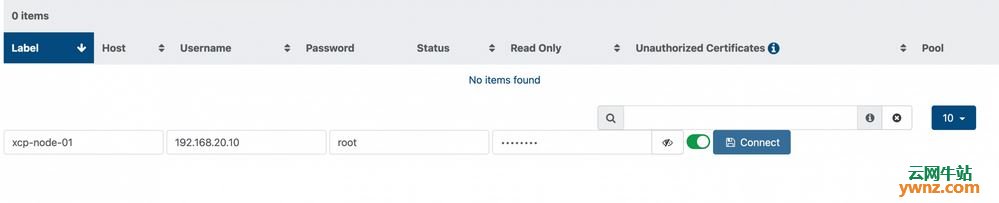
输入用于登录的服务器标签、IP地址、用户名和密码:
确认连接成功:
现在,您可以查看现有的虚拟机并通过XO控制台创建新的虚拟机:
至此,添加完成,随时可以管理Xen/XCP-ng了。
相关主题 |