|
以下介绍在Linux服务器上配置FreeIPA客户端的详细步骤,适用在Ubuntu 18.04/Ubuntu 16.04/CentOS 7操作系统中,要使用本文的配置方法请先安装好FreeIPA Server。
安装参考文章 在Ubuntu 18.04/Ubuntu 16.04上安装和配置FreeIPA服务器
步骤1:更新系统 要通过更新系统包来启动服务器配置: $ sudo apt-get update $ sudo apt-get upgrade 如果你获得内核更新,请考虑重新启动服务器以进行更改。 配置有效的客户端主机名(FQDN): $ sudo hostnamectl set-hostname node-01.computingforgeeks.com 注:请用自己实际的来替代computingforgeeks。
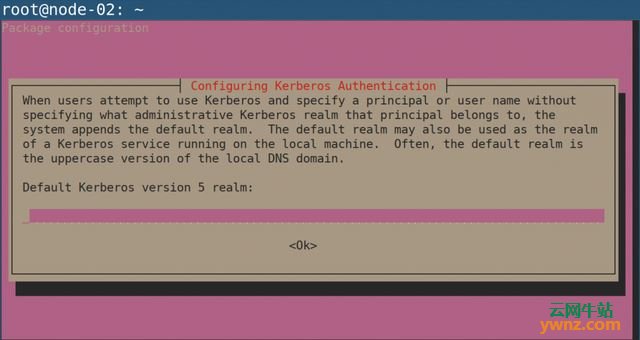
步骤2:安装FreeIPA客户端 FreeIPA客户端可用,在Ubuntu的apt存储库,使用以下命令安装它: $ sudo apt-get install freeipa-client 当提示为服务器提供Kerberos域时,只需按<Enter>键跳过。
对于CentOS 7使用: $ sudo yum install ipa-client 注:这将在下一步配置。
步骤3:在Ubuntu 18.04/Ubuntu 16.04/CentOS 7上配置FreeIPA客户端 一旦安装客户端包完成,将IPA服务器的主机名和IP地址添加到/etc/hosts文件: # echo "192.168.58.121 ipa.computingforgeeks.com ipa" >> /etc/hosts 替换你的FreeIPA副本或主服务器的192.168.58.121 IP地址,并使用其主机名替换ipa.computingforgeeks.com。 然后在此服务器上配置IPA客户端,以便用户可以开始对其进行身份验证: root@node-01:~# ipa-client-install --hostname=`hostname -f` \ --mkhomedir \ --server=ipa.computingforgeeks.com \ --domain computingforgeeks.com \ --realm COMPUTINGFORGEEKS.COM Autodiscovery of servers for failover cannot work with this configuration. If you proceed with the installation, services will be configured to always access the discovered server for all operations and will not fail over to other servers in case of failure. Proceed with fixed values and no DNS discovery? [no]: yes Client hostname: node-01.computingforgeeks.com Realm: COMPUTINGFORGEEKS.COM DNS Domain: computingforgeeks.com IPA Server: ipa.computingforgeeks.com BaseDN: dc=computingforgeeks,dc=com 这将开始在你的服务器上配置FreeIPA Client: Synchronizing time No SRV records of NTP servers found and no NTP server or pool address was provided. Using default chrony configuration. Attempting to sync time with chronyc. Time synchronization was successful. User authorized to enroll computers: admin Password for admin@COMPUTINGFORGEEKS.COM: Successfully retrieved CA cert Subject: CN=Certificate Authority,O=COMPUTINGFORGEEKS.COM Issuer: CN=Certificate Authority,O=COMPUTINGFORGEEKS.COM Valid From: 2019-01-06 01:27:06 Valid Until: 2039-01-06 01:27:06 Enrolled in IPA realm COMPUTINGFORGEEKS.COM Created /etc/ipa/default.conf New SSSD config will be created Configured sudoers in /etc/nsswitch.conf Configured /etc/sssd/sssd.conf Configured /etc/krb5.conf for IPA realm COMPUTINGFORGEEKS.COM trying https://ipa.computingforgeeks.com/ipa/json [try 1]: Forwarding 'schema' to json server 'https://ipa.computingforgeeks.com/ipa/json' trying https://ipa.computingforgeeks.com/ipa/session/json [try 1]: Forwarding 'ping' to json server 'https://ipa.computingforgeeks.com/ipa/session/json' [try 1]: Forwarding 'ca_is_enabled' to json server 'https://ipa.computingforgeeks.com/ipa/session/json' Systemwide CA database updated. Hostname (node-01.computingforgeeks.com) does not have A/AAAA record. Failed to update DNS records. Missing A/AAAA record(s) for host node-01.computingforgeeks.com: 178.128.164.219, 10.16.0.5. Incorrect reverse record(s): 10.16.0.5 is pointing to node-01. instead of node-01.computingforgeeks.com. 10.16.0.5 is pointing to node-01.local. instead of node-01.computingforgeeks.com. Adding SSH public key from /etc/ssh/ssh_host_ecdsa_key.pub Adding SSH public key from /etc/ssh/ssh_host_rsa_key.pub Adding SSH public key from /etc/ssh/ssh_host_ed25519_key.pub Adding SSH public key from /etc/ssh/ssh_host_dsa_key.pub [try 1]: Forwarding 'host_mod' to json server 'https://ipa.computingforgeeks.com/ipa/session/json' Could not update DNS SSHFP records. SSSD enabled Configured /etc/openldap/ldap.conf Configured /etc/ssh/ssh_config Configured /etc/ssh/sshd_config Configuring computingforgeeks.com as NIS domain. Client configuration complete. The ipa-client-install command was successful 如果一切按预期进行,你应该收到如下的成功消息: The ipa-client-install command was successful
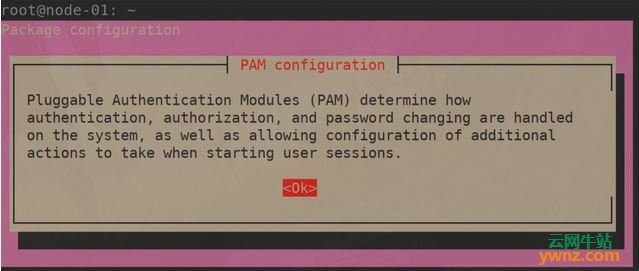
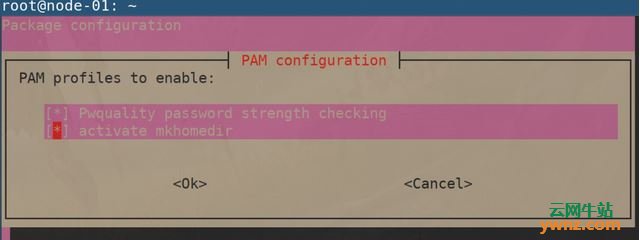
步骤4:启用mkhomedir(仅限在Ubuntu系统中) 默认情况下,sssd服务不会在首次登录时为用户创建主目录,我们需要通过修改PAM配置文件来启用此功能: $ sudo bash -c "cat > /usr/share/pam-configs/mkhomedir" <<EOF Name: activate mkhomedir Default: yes Priority: 900 Session-Type: Additional Session: required pam_mkhomedir.so umask=0022 skel=/etc/skel EOF 然后运行: $ sudo pam-auth-update 选择<OK>:
确保选中激活mkhomedir,有[*]:
然后选择<OK>以保存更改。
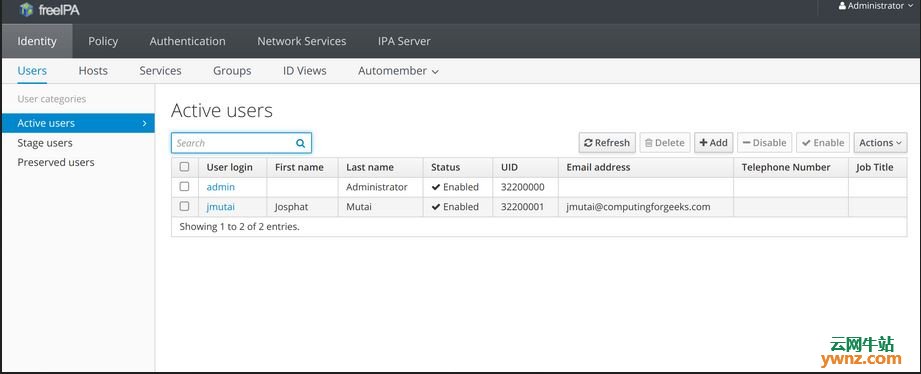
步骤5:测试FreeIPA客户端(针对Ubuntu和CentOS 7) 现在我们需要配置所有内容,让我们在FreeIPA Server上创建测试用户帐户,并使用添加的用户帐户尝试ssh到客户端。你可以从UI或CLI向FreeIPA服务器添加帐户。 1、从CLI添加用户帐户: 登录FreeIPA服务器并获取管理员用户的Kerberos: $ sudo kinit admin Password for admin@COMPUTINGFORGEEKS.COM: 提示时输入管理员密码,使用以下命令确认: [root@ipa ~]# klist Ticket cache: KEYRING:persistent:0:0 Default principal: admin@COMPUTINGFORGEEKS.COM 2、将用户添加到FreeIPA: 将所有帐户的默认shell设置为/bin/bash: $ sudo ipa config-mod --defaultshell=/bin/bash 创建用户: [root@ipa ~]# ipa user-add jmutai --first=Josphat \ --last=Mutai --email=jmutai@computingforgeeks.com --password Password: Enter Password again to verify: ------------------- Added user "jmutai" ------------------- User login: jmutai First name: Josphat Last name: Mutai Full name: Josphat Mutai Display name: Josphat Mutai Initials: JM Home directory: /home/jmutai GECOS: Josphat Mutai Login shell: /bin/bash Principal name: jmutai@COMPUTINGFORGEEKS.COM Principal alias: jmutai@COMPUTINGFORGEEKS.COM Email address: jmutai@computingforgeeks.com UID: 32200001 GID: 32200001 Password: True Member of groups: ipausers Kerberos keys available: True 登录到已注册的客户端并检查用户是否存在: root@node-01:~# id jmutai uid=32200001(jmutai) gid=32200001(jmutai) groups=32200001(jmutai) 你可以确认ID为32200001的用户是否存在 root@node-01:~# ssh jmutai@localhost The authenticity of host 'localhost (<no hostip for proxy command>)' can't be established. ECDSA key fingerprint is SHA256: y4GzK0NLDHF+g8pKNstpPq0Z6Gui+4jq/0WjtqKf5CE. Are you sure you want to continue connecting (yes/no)? yes Warning: Permanently added 'localhost' (ECDSA) to the list of known hosts. Password: Password expired. Change your password now. Current Password: New password: Retype new password: Creating directory '/home/jmutai'. Welcome to Ubuntu 18.04 LTS (GNU/Linux 4.15.0-23-generic x86_64) jmutai@node-01:~$ id uid=32200001(jmutai) gid=32200001(jmutai) groups=32200001(jmutai) 3、从UI添加用户帐户到FreeIPA: 要在Web UI上添加帐户,请登录FreeIPA Web界面并导航到:身份>用户>活动用户>添加:
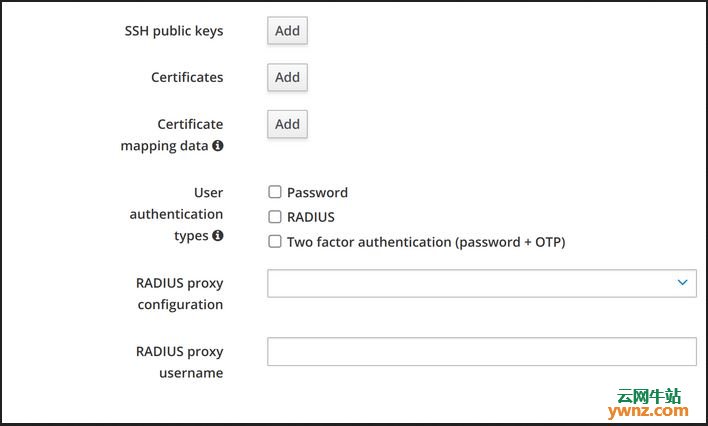
单击添加按钮添加用户。 4、使用私钥启用无密码身份验证: 如果你想在没有密码的情况下对服务器进行身份验证,请将你的公钥复制到FreeIPA Server:
单击SSH公钥下的添加按钮,将公钥粘贴到框中并保存即可。
相关主题 |