|
本文介绍在Ubuntu 18.04系统上安装Gollum Wiki的方法,首先安装所需的依赖项,然后在Ubuntu 18.04上构建和配置Gollum Wiki。
简介 Gollum是一个基于Git构建的开源简单wiki系统(参考:在Ubuntu 18.04/CentOS 7系统上安装Wiki.js的方法),Wiki内容作为文本文件存储在Git存储库中,可以组织到目录中,Gollum使用所有可识别的文件格式,包括图像、PDF和页眉/页脚。 Gollum页面可以用各种标记语言编写,可以从内置的Web界面、文本编辑器或IDE进行编辑,还支持宏、UML图、元数据等高级功能。
一、安装Gollum和Dependencies 我们需要安装所有的依赖项,运行以下命令来安装: sudo apt update sudo apt install -y ruby ruby-dev make zlib1g-dev libicu-dev build-essential git asciidoc cmake 用Ruby编写的Gollum和许多Ruby gems是必需的,我们确保已安装基本版: sudo gem install gollum org-ruby omnigollum github-markup omniauth-github 所有Gollum标记都由github-markup gem呈现,但你可以通过其它安装轻松添加对其它标记的支持,例如: 链接到MediaWiki: sudo gem install wikicloth Textile: sudo gem install RedCloth GitHub Flavored Markdown: sudo gem install github-markdown
二、设置Gollum Git存储库 在初始安装之后,Gollum需要指向一个git存储库才能工作,让我们首先添加一个专用用户来访问该存储库: $ sudo adduser --shell /bin/bash --gecos 'Gollum application' gollum Adding user gollum' ... Adding new group gollum' (1001) … Adding new user gollum' (1001) with group gollum' … Creating home directory /home/gollum' ... Copying files from /etc/skel' … Enter new UNIX password: <Enter Password> Retype new UNIX password: <Retype Password> passwd: password updated successfully 切换到gollum用户并配置Git用户名和电子邮件地址: sudo su - gollum git config --global user.name "John Doe" git config --global user.email "johndoe@example.com" 创建wiki目录并初始化它: $ mkdir wiki && cd wiki $ git init . Initialized empty Git repository in /home/gollum/wiki/.git/
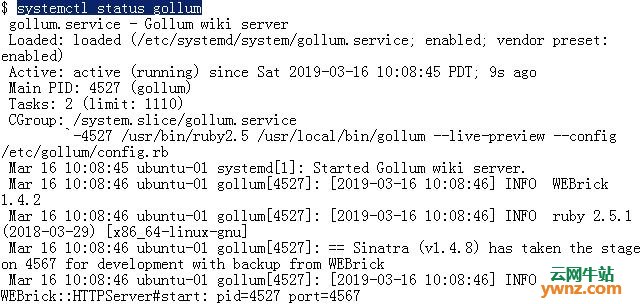
三、配置Gollum Systemd服务 我们将设置Gollum作为服务器启动时的systemd服务启动,这将允许我们在需要关闭它时控制其启动/停止/重启(例如在升级时)。 创建Gollum配置目录: sudo mkdir /etc/gollum/ 添加配置模板: $ cat<<EOF | sudo tee /etc/gollum/config.rb =begin This file can be used to (e.g.): - alter certain inner parts of Gollum, - extend it with your stuff. It is especially useful for customizing supported formats/markups. For more information and examples: - https://github.com/gollum/gollum#config-file =end # enter your Ruby code here ... EOF 创建一个新的Gollum systemd单元文件: $ cat<<EOF | sudo tee /etc/systemd/system/gollum.service [Unit] Description=Gollum wiki server After=network.target After=syslog.target [Service] Type=simple User=gollum Group=gollum WorkingDirectory=/home/gollum/wiki/ ExecStart=/usr/local/bin/gollum --live-preview --config "/etc/gollum/config.rb" Restart=on-abort [Install] WantedBy=multi-user.target EOF 重新加载systemd配置: sudo systemctl daemon-reload 启动并启用服务以在启动时启动: sudo systemctl start gollum.service sudo systemctl enable gollum.service 检查服务状态,正常的话显示运行状态,运行systemctl status gollum命令查看:
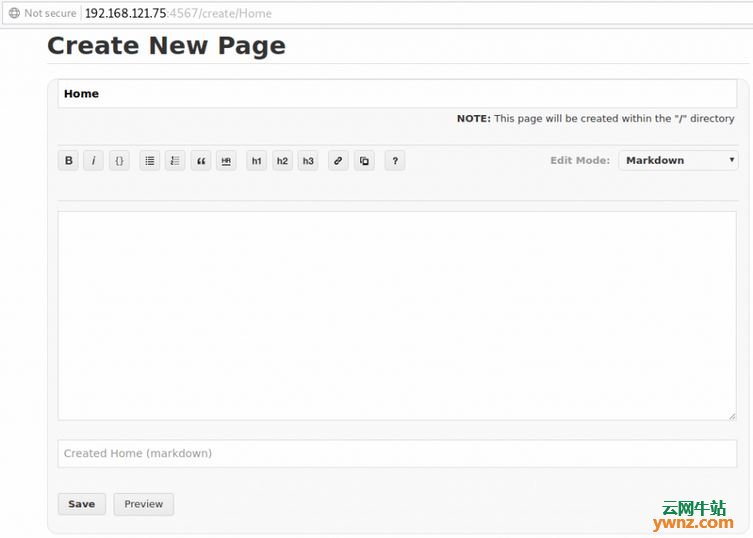
Gollum在TCP端口上运行: $ ss -tunelp | grep 4567 tcp LISTEN 0 128 0.0.0.0:4567 0.0.0.0:* users:(("gollum",pid=4527,fd=7)) uid:1001 ino:63478 sk:5 <-> 可以在服务器IP地址和端口4567上访问Web管理面板:
四、配置Nginx代理 默认设置是在服务器IP地址上能够访问到Gollum Web控制台,如果要通过域名访问它,则需要配置Nginx。 在Ubuntu 18.04上安装nginx Web服务器: sudo apt -y install nginx 安装后,添加nginx配置: sudo vim /etc/nginx/conf.d/gollum.conf 修改以下数据并将其添加到文件中: server { listen 80; server_name wiki.example.com www.wiki.example.com; location / { proxy_pass http://127.0.0.1:4567; proxy_set_header Host $host; proxy_set_header X-Real-IP $remote_addr; proxy_set_header X-Forwarded-For $proxy_add_x_forwarded_for; proxy_connect_timeout 150; proxy_send_timeout 100; proxy_read_timeout 100; proxy_buffers 4 32k; client_max_body_size 500m; client_body_buffer_size 128k; } access_log /var/log/nginx/gollum-access.log; error_log /var/log/nginx/gollum-error.log; } 将wiki.example.com替换为你的域名并验证Nginx配置: $ sudo nginx -t nginx: the configuration file /etc/nginx/nginx.conf syntax is ok nginx: configuration file /etc/nginx/nginx.conf test is successful 重新启动nginx以加载新配置文件: sudo systemctl restart nginx 对于SSL配置,请参阅下面的配置文件: server { listen 443 ssl http2; server_name wiki.example.com www.wiki.example.com; location / { proxy_pass http://127.0.0.1:4567; proxy_set_header Host $host; proxy_set_header X-Real-IP $remote_addr; proxy_set_header X-Forwarded-For $proxy_add_x_forwarded_for; proxy_connect_timeout 150; proxy_send_timeout 100; proxy_read_timeout 100; proxy_buffers 4 32k; client_max_body_size 500m; client_body_buffer_size 128k; } ssl on; ssl_certificate /etc/letsencrypt/live/wiki.example.com/fullchain.pem; ssl_certificate_key /etc/letsencrypt/live/wiki.example.com/privkey.pem; ssl_session_timeout 5m; ssl_ciphers EECDH+CHACHA20:EECDH+AES128:RSA+AES128:EECDH+AES256:RSA+AES256:EECDH+3DES:RSA+3DES:!MD5; ssl_protocols TLSv1.2; ssl_prefer_server_ciphers on; access_log /var/log/nginx/gollum-access.log; error_log /var/log/nginx/gollum-error.log; } server { listen 80; server_name wiki.example.com; add_header Strict-Transport-Security max-age=2592000; rewrite ^ https://$server_name$request_uri? permanent; } 相关说明: wiki.example.com是你的Wiki域名 /etc/letsencrypt/live/wiki.example.com/fullchain.pem是SSL证书的路径。 /etc/letsencrypt/live/wiki.example.com/privkey.pem是SSL私钥的路径。 以上配置将所有http重定向到https。
相关主题 |